How to Import a Picture to Excel (The Right Way in 2025)
In this article, we will show you how to import a picture into Excel. Simply follow the steps below.
Import a Picture to Excel
To import a picture into Excel, simply follow the process below.
1. Select the Cell Where You Want to Insert the Picture
Click on the cell where you want the picture to appear in your Excel worksheet. This is where the top-left corner of your picture will be placed.

2. Go to the “Insert” Tab
Click on the “Insert” tab in the Excel ribbon at the top of the window.

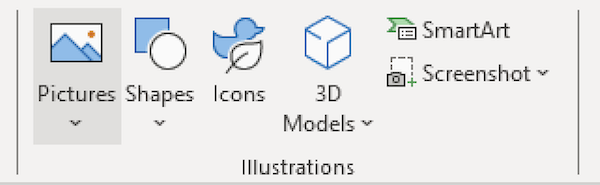
3. Click on “Pictures”
Under the “Insert” tab, look for the “Pictures” button. Click on it to open a window where you can choose the picture file you want to insert.
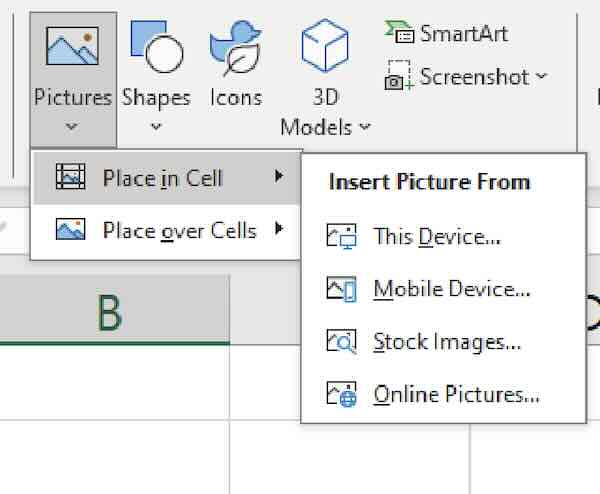
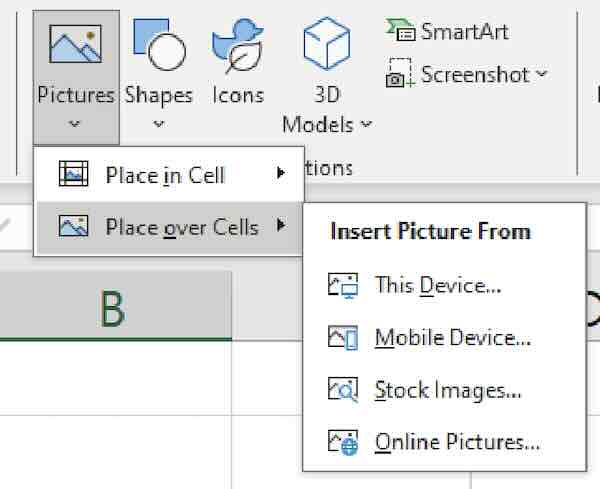
4. Choose Placement Option
Select your preferred placement option between “Place in Cell” and “Place over Cells.”
5. Choose Your Picture
From the dialogue box, navigate to the folder where your picture is saved on your computer. Click on the picture file you want to insert.

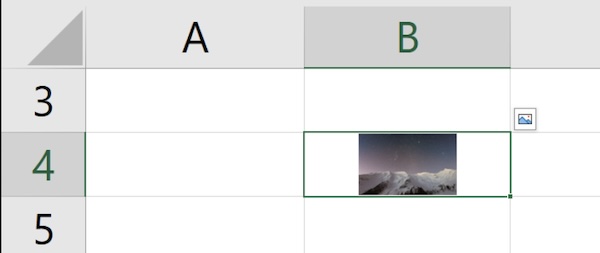
6. Click “Insert”
After choosing your picture, click the “Insert” button in the dialogue box to insert the selected picture into your Excel worksheet.

We hope that you now have a better understanding of how to import a picture into Excel. If you enjoyed this article, you might also like our article on how to import data from a picture to Excel or our article on how to import data from Word to Excel.