Print Excel to PDF: The Ultimate Guide for 2025
In this article, we will show you how to print Excel to PDF. Simply follow the steps below.
Print Excel to PDF
Follow the process below to print an Excel file to PDF.
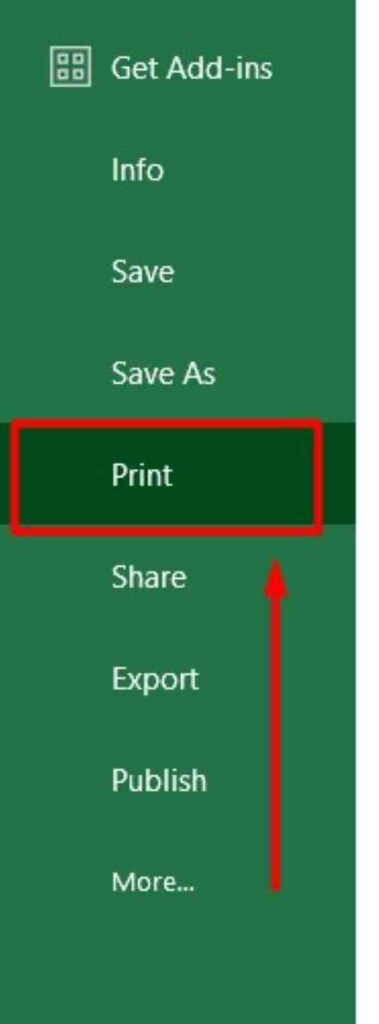
1.Select the Print Option
From the “File” dropdown menu, find and click on the “Print” option. This will open the print settings window, where you can configure how your document will be printed or saved.
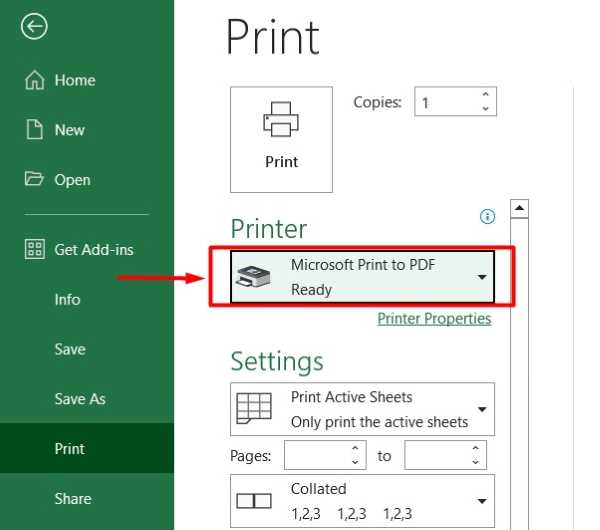
2. Select Microsoft Print to PDF
In the print settings window, look for the “Printer” dropdown menu. Click on it to see a list of available printers. Select “Microsoft Print to PDF” from the list. This will allow you to save your Excel file as a PDF instead of sending it to a physical printer.
3. Adjust Print Settings
Before printing, you can adjust various settings to ensure your PDF looks the way you want. Choose the number of copies you need, select the page orientation (portrait or landscape), and make any other necessary adjustments. Review the print preview to make sure everything is correct.

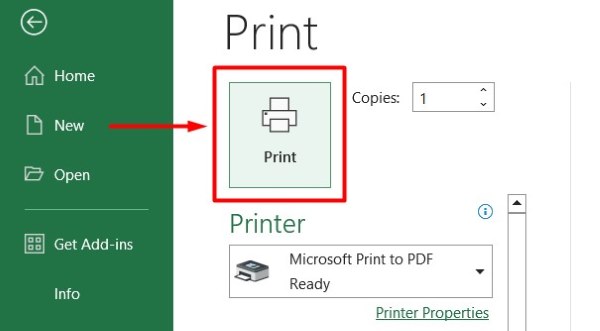
4. Click Print to Convert
Once you have adjusted all the settings to your satisfaction, click the “Print” button. This will start the process of converting your Excel file to a PDF. A new window will appear, prompting you to name the PDF file and choose a location to save it.
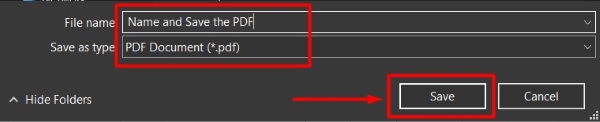
5. Name and Save the PDF
In the new window, enter a name for your PDF file in the “File name” field. Then, navigate to the folder where you want to save the PDF. Once you have chosen the location, click the “Save” button. Excel will convert the file to PDF and save it to the specified location.
We hope you now have a better understanding of how to print Excel to PDF. If you enjoyed this article, you might also like our article on ways to save Excel as PDF fit to page or our article on how to attach PDF in Excel.