How to Print Excel with Lines (Easiest Way in 2025)
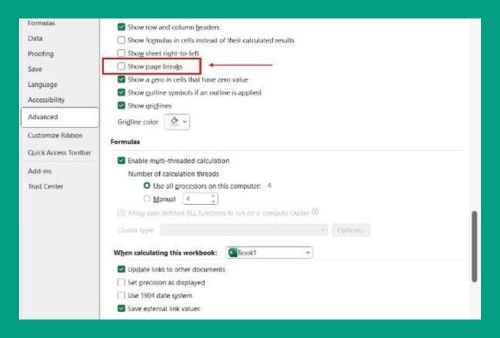
In this article, we will explore how to print with gridlines in Excel using Sheet Options and the Page Setup dialog box. Simply follow the steps below.
Method 1: How to Print Excel Sheet with Lines Using Sheet Options
Follow the steps below to print an Excel sheet with lines using Sheet Options.
1. Navigate to Page Layout
Go to the Page Layout tab on the ribbon and locate the Sheet Options group.

2. Enable Gridlines for Printing
Check the Print box under Gridlines.

3. Access the Print Menu
Press Ctrl + P to open the Print menu or click on the File tab and select Print.

4. Check the Print Preview
Check and ensure that gridlines are visible on the worksheet before proceeding to print.

Method 2: How to Print Excel Sheet with Lines Using Page Setup
Follow the steps below to print an Excel sheet with lines using the Page Setup Dialog Box.
1. Open Page Setup
Go to the Page Layout tab on the ribbon. Click on the small dialog box launcher at the bottom right corner of the Page Setup group.

2. Enable Gridlines for Printing
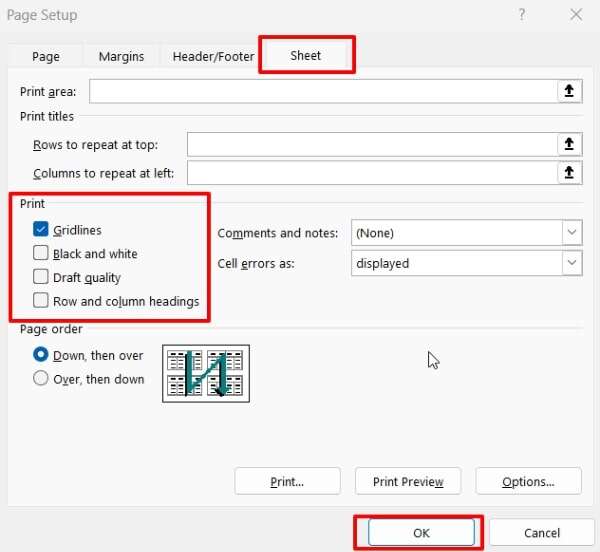
In the Page Setup dialog box, select the Sheet tab. Check the Gridlines box under the Print section then click OK.
3. Access the Print Menu
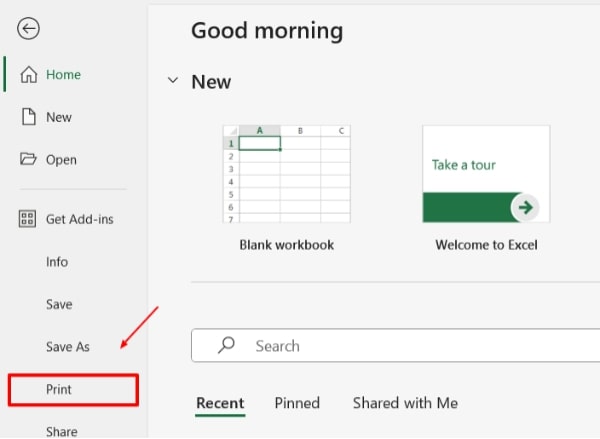
Press Ctrl + P to open the Print menu or click on the File tab and select Print.
4. Check the Print Preview
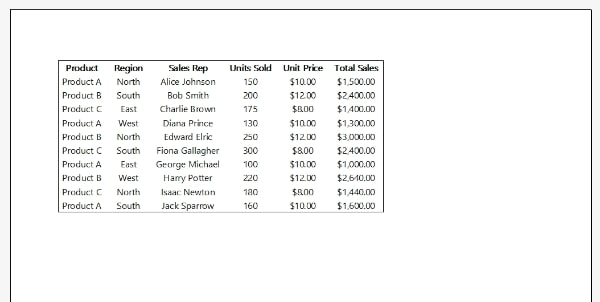
Check and ensure that gridlines are visible on the worksheet before proceeding to print.
We hope that you now have a better understanding of how to print Excel with lines. If you enjoyed this article, you might also like our article on how to set the print area in excel and how to center print area in excel.


