How to Make a Table in Excel With Lines (Easiest Way in 2025)
In this article, we will show you how to make a table in Excel with lines. Simply follow the steps below!
How to Add Table Lines in Excel Using Borders
Here’s how you can make a table in Excel with lines:
Step 1: Select Your Data
Click and drag to select the cells you want to add lines to.
Below is a sample dataset that we created for the purpose of this guide. This example features data for a small bookstore, listing book titles, authors, genres, and the number of copies sold.

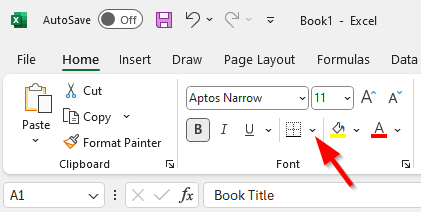
Step 2: Add Borders
With your cells selected, go to the Home tab on the ribbon. In the Font group, you will see a button with a border icon. Click on the small arrow next to it to open the border menu.
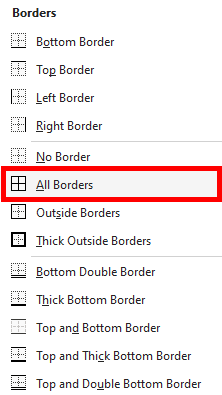
From the dropdown, you can select the type of borders you want to apply. For instance, choose All Borders to add lines between all the selected cells both horizontally and vertically.
This should automatically be applied to your table. Here’s what our dataset looks like:

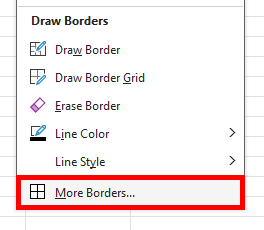
Step 3: Customize Borders (Optional)
If you want to customize the style or color of the borders, select More Borders at the bottom of the list. This will open the Format Cells dialog box.
In the Border tab, you can choose line style and color. You can also specify which borders you want to apply (e.g., outside borders, inside borders, left, right, top, bottom).
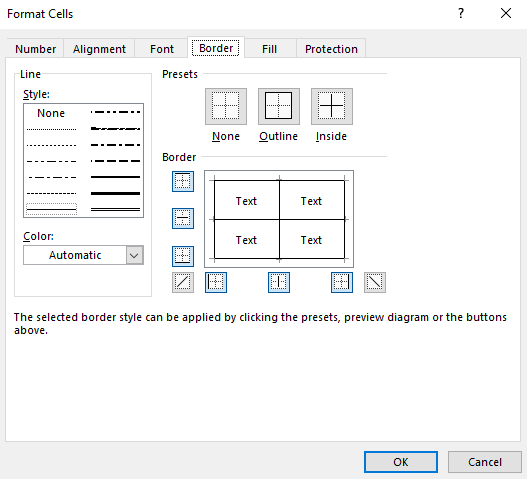
Once you’ve made your selections, click OK to apply the borders.
We hope that you now have a better understanding of how to add table lines in Excel. If you enjoyed this article, you might also like our articles on how to get rid of page break lines in Excel and how to add a space between lines in an Excel cell.