Group Lines in Excel (Easiest Way in 2025)
In this article, we will show you how to group lines in Excel. Simply follow the steps below!
How to Group Lines in Excel
Here’s how you can easily group lines in Excel:
1. Select the Rows You Want to Group
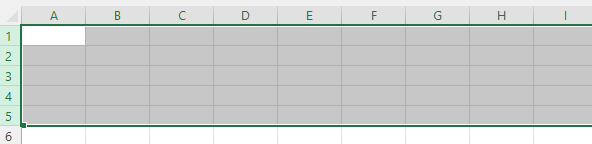
Select the rows you want to group. Click on the row number at the left of the row to select an entire row. You can select multiple consecutive rows by clicking and dragging over the row numbers or by holding the “Shift” key and clicking the first and last rows of your desired range.
For non-consecutive rows, press and hold the “Ctrl” key while clicking each row number you want to group.
For example, we want to select Rows 1 to 5:
2. Group the Rows
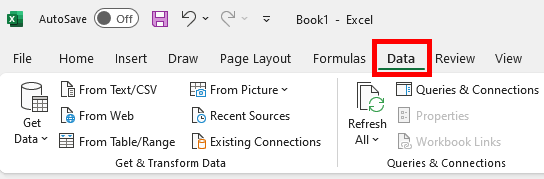
Go to the “Data” tab on the Ribbon.
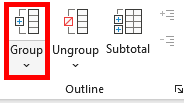
In the “Outline” group, you will find the “Group” button. Click on it. Excel will add a grouping outline to the left of the selected rows.
3. Collapse or Expand the Group
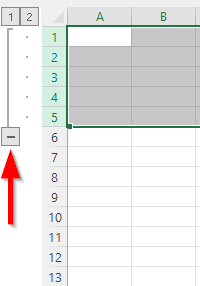
Here’s what it should look like once grouped:
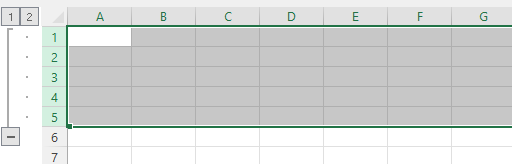
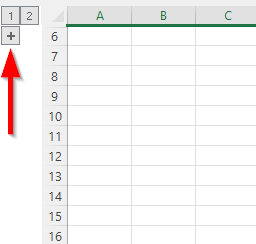
You can collapse or expand the group using the “+” or “-” signs in the outline bar on the left-hand side of the sheet. Click “-” to collapse the group and hide the detailed rows.
Click “+” to expand the group and show the detailed rows.
We hope that you now have a better understanding of how to group lines in Excel. If you enjoyed this article, you might also like our articles on how to space lines in Excel and how to add gridlines in Excel for specific cells.