Delete Duplicates Based on One Column in Excel (2025 Update)
In this article, we will show you how to delete duplicates in Excel based on one column. Simply follow the steps below.
How to Delete Duplicates in Excel Based on One Column
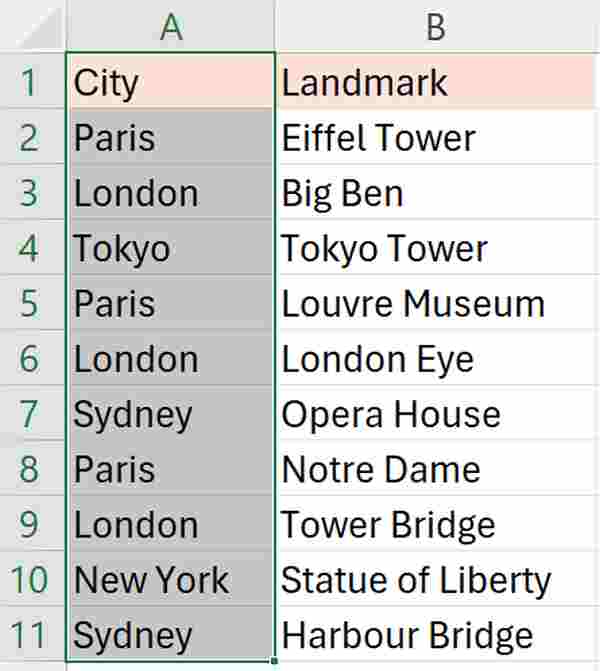
To delete duplicates in a column in Excel, we will use a dataset that contains the cities in Column A and the landmarks in Column B. Follow the steps below:
1. Select the ‘City’ Column
Click directly on the header labeled ‘City’ to highlight the entire column. This action selects all data under the ‘City’ column where the duplicate entries need to be identified.
2. Navigate to the ‘Remove Duplicates’ Tool
Locate the ‘Data’ tab on the upper Excel Ribbon. Within this tab, find the ‘Data Tools’ section and look for the ‘Remove Duplicates’ button.

3. Handle the Remove Duplicates Warning
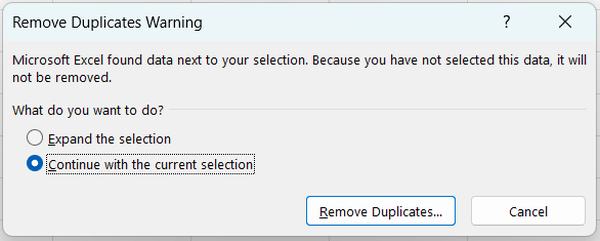
When you click on ‘Remove Duplicates’, a warning message may appear. Select “Continue with the current selection” to proceed with removing duplicates based on your specified criteria.
4. Specify Duplicate Criteria
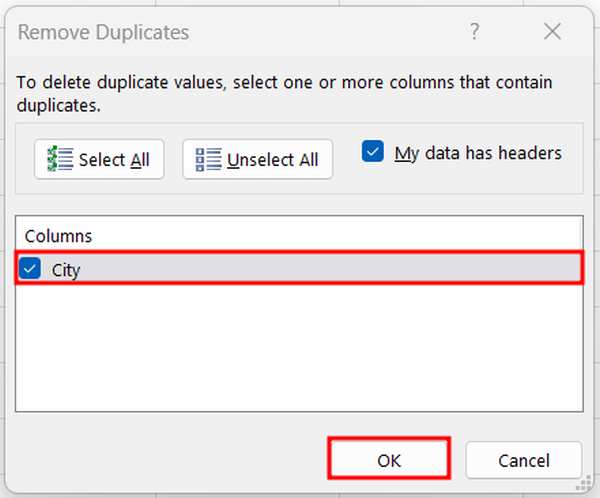
In the Remove Duplicates dialog box, make sure to check the ‘City.’ This action ensures that Excel will look for duplicates based only on the city names. After ensuring only the ‘City’ column is selected, click ‘OK’ at the bottom of the dialog box.
5. Verify the Removal of Duplicates
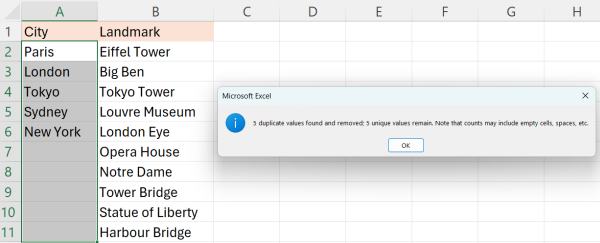
Excel will then remove rows with duplicate city names, keeping only the first instance of each city. A message will display summarizing the number of duplicates removed and how many unique values remain.
We hope that you now have a better understanding of how to delete duplicates based on one column in Excel. If you enjoyed this article, you might also like our article on how to delete duplicates in Excel but keep one or our article on how to delete non duplicates in Excel.

