How to Filter and Delete the Rest of Your Data in Excel (2025)
In this article, we will explore how to filter and delete the rest of your data in Excel. Simply follow the steps below.
Filter and Delete Cells in Excel
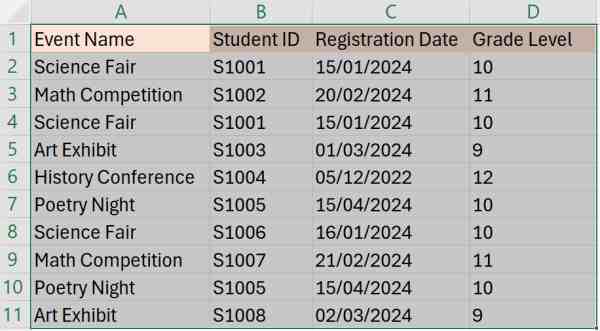
To filter and delete in Excel, we will use a dataset of a school event registration that includes some errors and duplicate entries.
1. Select the Entire Dataset to Prepare for Filtering
Click and drag to select the entire dataset from the “Event Name” to “Grade Level” columns. Be sure to include the headers. This helps in clearly identifying each column when you apply filters later.
2. Activate Filtering for the Selected Data Range
Navigate to the Data tab on Excel’s ribbon and click on the Filter button. This will enable dropdown arrows next to each column header, which you can use to set specific filtering criteria based on your needs.

3. Set Filters to Identify Duplicates and Erroneous Dates
Insert a new column (column E) next to your data titled “Duplicate Check.” In the first row under this header (cell E2), enter the formula `=COUNTIFS(B:B, B2, A:A, A2) > 1`.
Where:
B:B, B2 refers to checking each cell in the Student ID column against the Student ID in the current row.
A:A, A2 refers to checking each cell in the Event Name column against the Event Name in the current row.
> 1 means that if the combination of Event Name and Student ID appears more than once in the dataset, the formula will return TRUE, indicating a duplicate. If it appears only once, it returns FALSE, indicating no duplicates.

Fill down this formula to apply it to other rows.
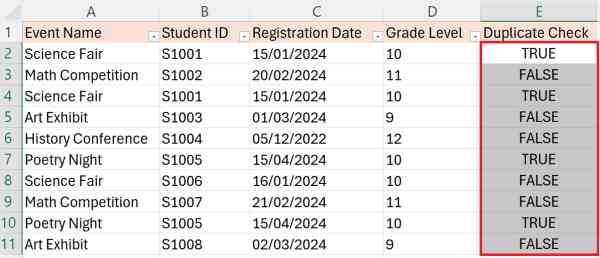
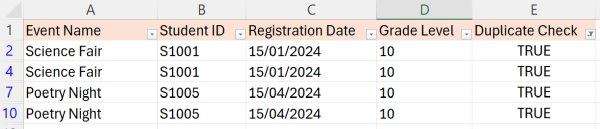
Filter this column using the filter option to show only “True,” highlighting rows with duplicates.
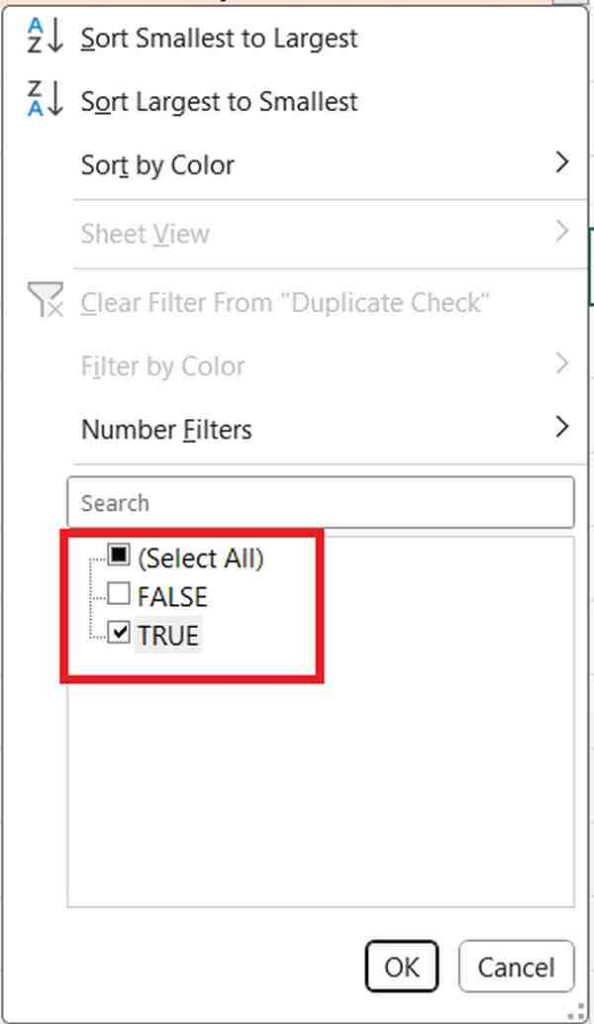
Review the rows shown after filtering. These rows will either be duplicates or contain erroneous registration dates.
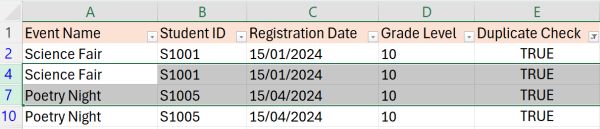
4. Select Rows Requiring Deletion Based on Filters
To select these rows for deletion, click on the row number at the far left while holding the Shift key, allowing you to select multiple rows at once.
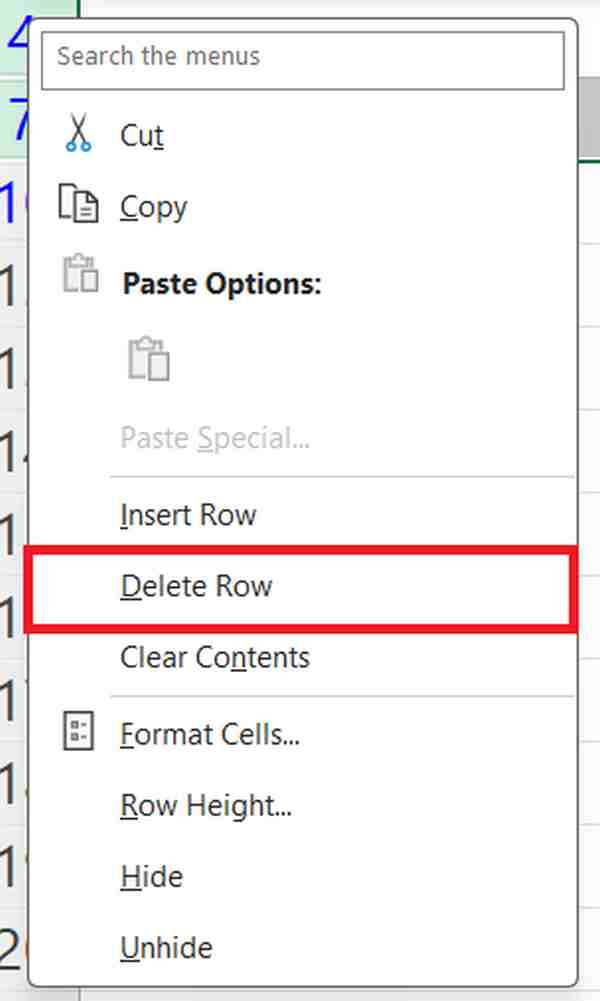
5. Delete Selected Rows to Clean the Dataset
Right-click on one of the highlighted row numbers and select Delete from the context menu. Confirm the deletion to remove these rows.
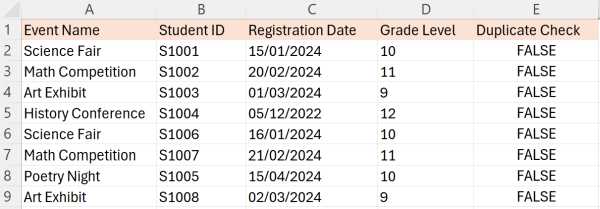
This step ensures that your dataset is free from incorrect data. It will now show ‘False’ for the remaining entries, indicating that there are no duplicates remaining.

6. Disable Filters to Review the Cleaned Data
Return to the Data tab and click on the Filter button again to turn off the filtering. This action will remove the dropdowns and show all remaining data. This will enable you to review the cleaned dataset.
We hope that you now have a better understanding of how to filter and delete the rest of your data in Excel. If you enjoyed this article, you might also like our article on how to filter horizontally in Excel or our article on how to add drop-down filters in Excel.