Remove Non-Duplicates in Excel (Easiest Way in 2025)
In this article, we will explore how to delete non-duplicates in Excel. Simply follow the steps below.
How to Remove Non-Duplicates in Excel
To delete non-duplicates in Excel, you can use the COUNTIF Function. Here’s how to do it:
1. Insert a New Column for Counting Duplicates
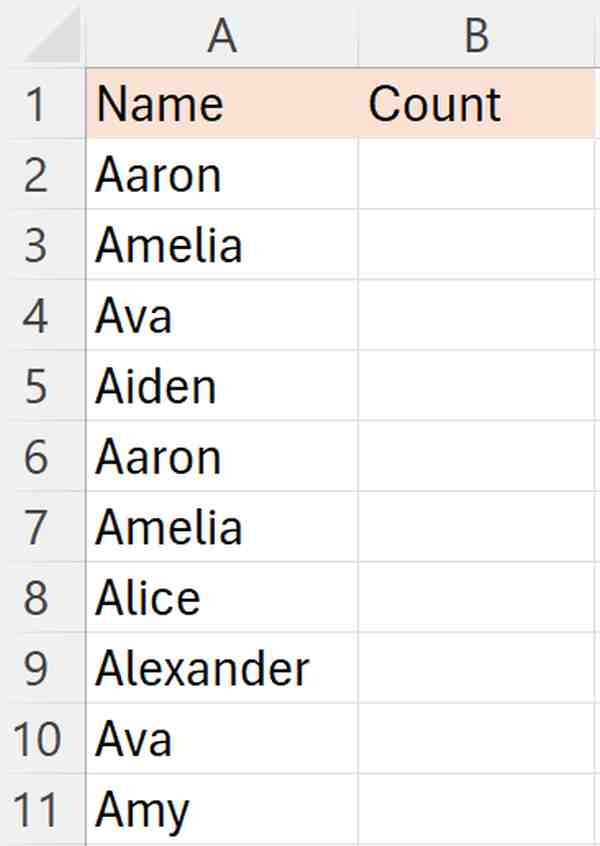
In our example, we have a list of names from cells A2 to A11. You want to remove non-duplicate names.
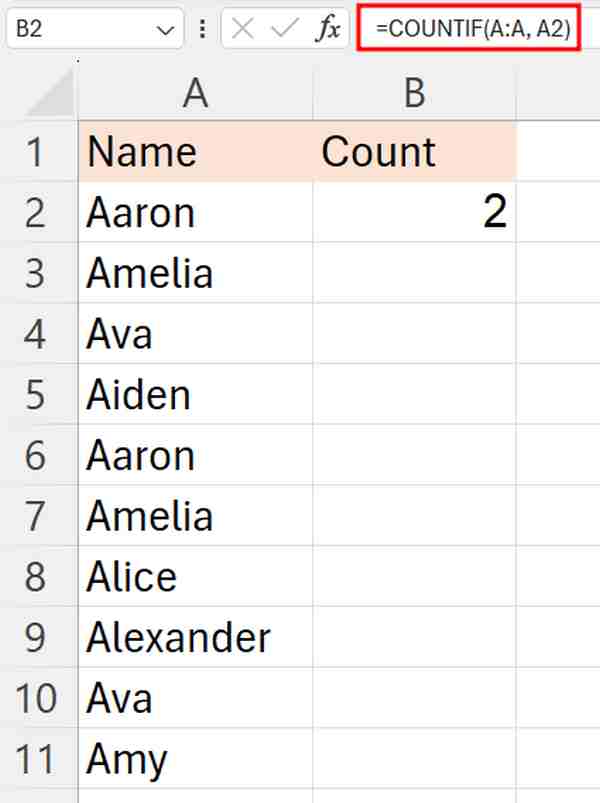
Right next to the ‘Name’ column, add a new column (B1) and label it ‘Count.’ This column will be used to apply a formula that helps in identifying how often each name appears, thus indicating duplicates.
2. Apply the COUNTIF Formula To Identify Duplicates
In the first cell of the ‘Count’ column (let’s say it’s B2 if your names start in A2), type the formula `=COUNTIF(A:A, A2)`. This formula counts the occurrences of each name in the entire ‘Name’ column.
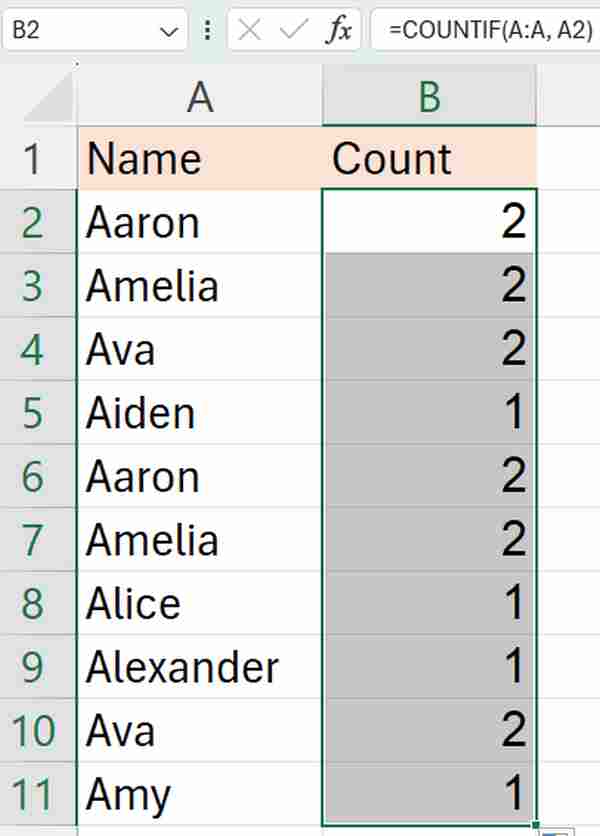
Fill the entire ‘Count’ column with this formula by dragging the fill handle from B2 downwards.
3. Access Filtering Options
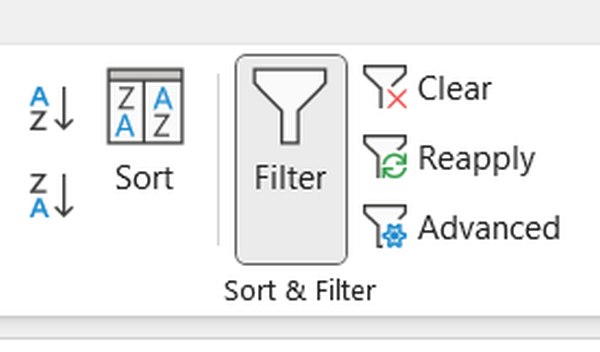
Select the headers. Then, access the filtering options by clicking on the ‘Data’ tab and then on the ‘Filter’ button. This will place filtering arrows in each column header.

4. Set Filter to Show Only Unique Names
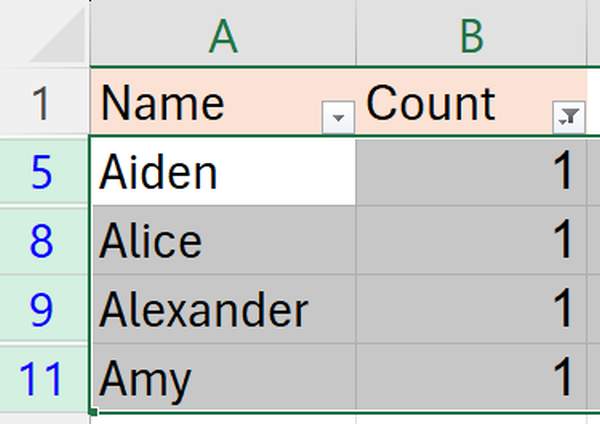
Click on the dropdown arrow in the ‘Count’ column header. Then, choose to filter by the number “1.”
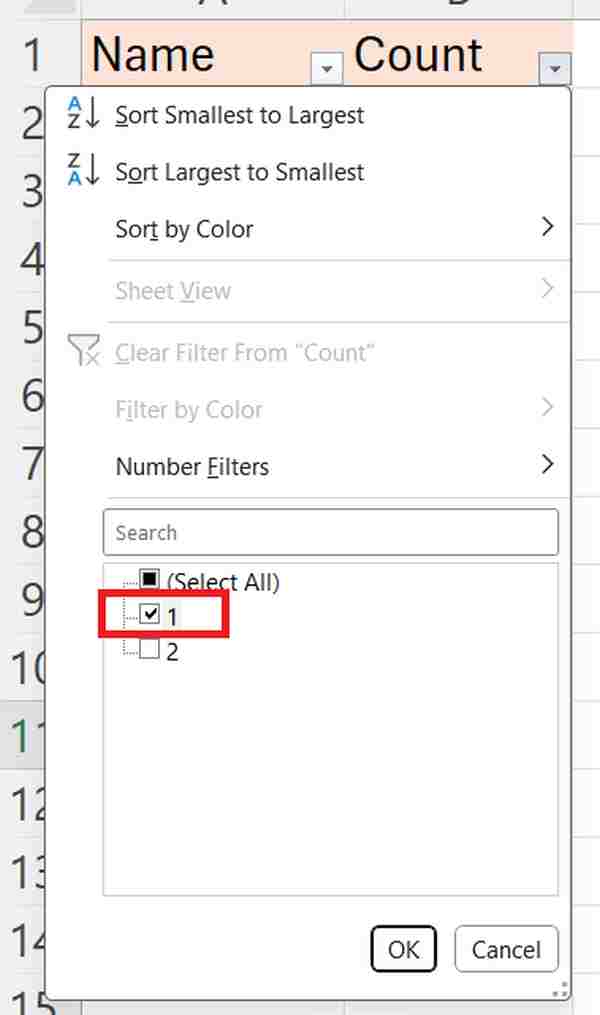
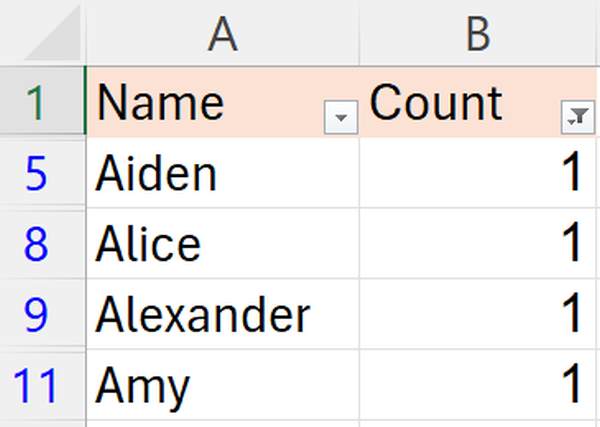
This will display only the entries where the count is 1, which corresponds to unique names that appear only once in your dataset.
5. Delete Rows Containing Unique Names
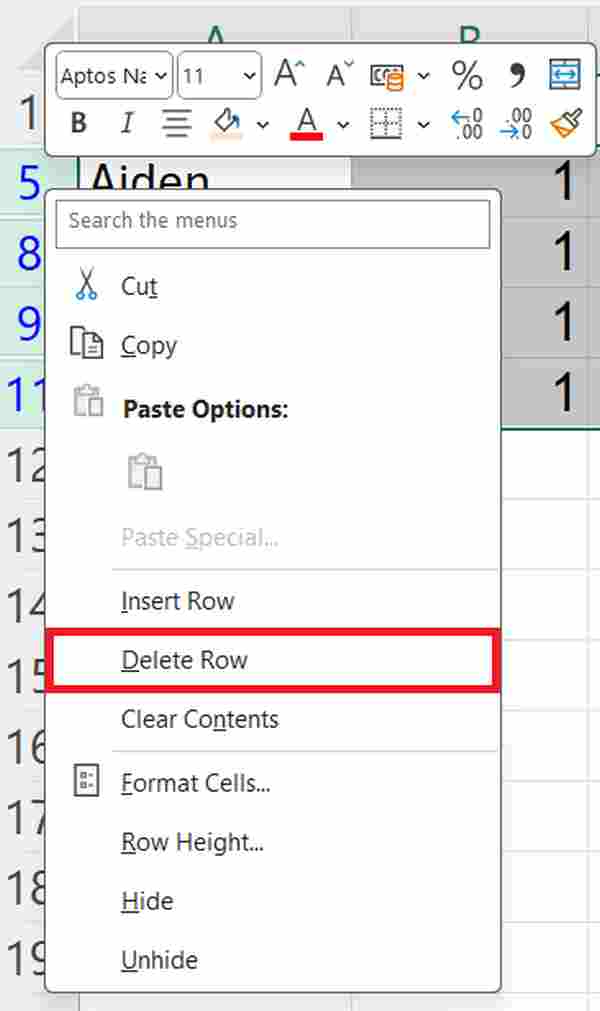
With the filter now showing only unique names, select all these rows by clicking on the row numbers on the left.
Once selected, right-click and choose ‘Delete’ from the context menu to remove these rows. This action deletes all non-duplicate names from your dataset.
6. Remove the Filter to Reveal Remaining Duplicates
After removing the non-duplicates, click the ‘Filter’ button again to turn off the filter.
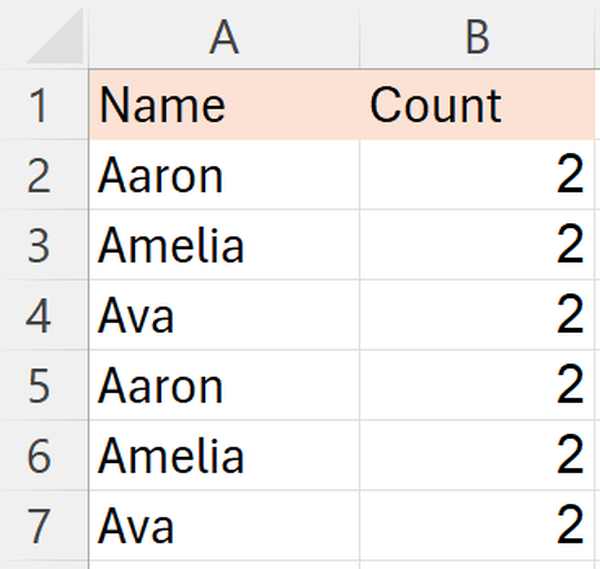
This action will reveal the remaining data in your worksheet, which should now consist only of duplicate names.
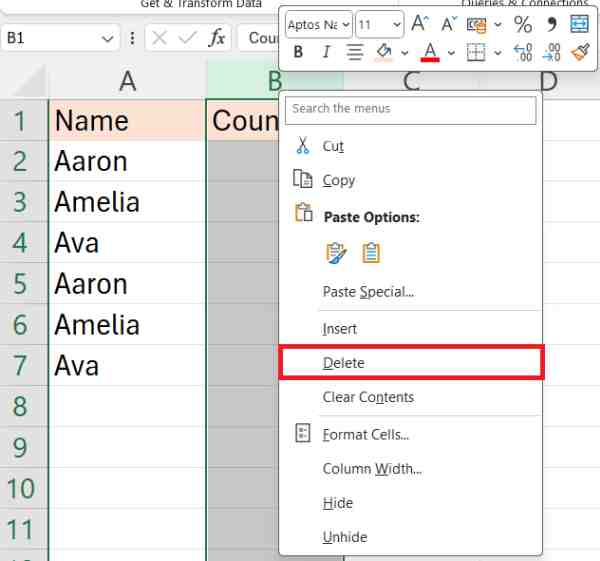
7. Delete the Helper ‘Count’ Column
Now that your dataset contains only duplicates, the ‘Count’ column is no longer needed. Right-click on the ‘Count’ column header and select ‘Delete’ to remove this column from your worksheet.
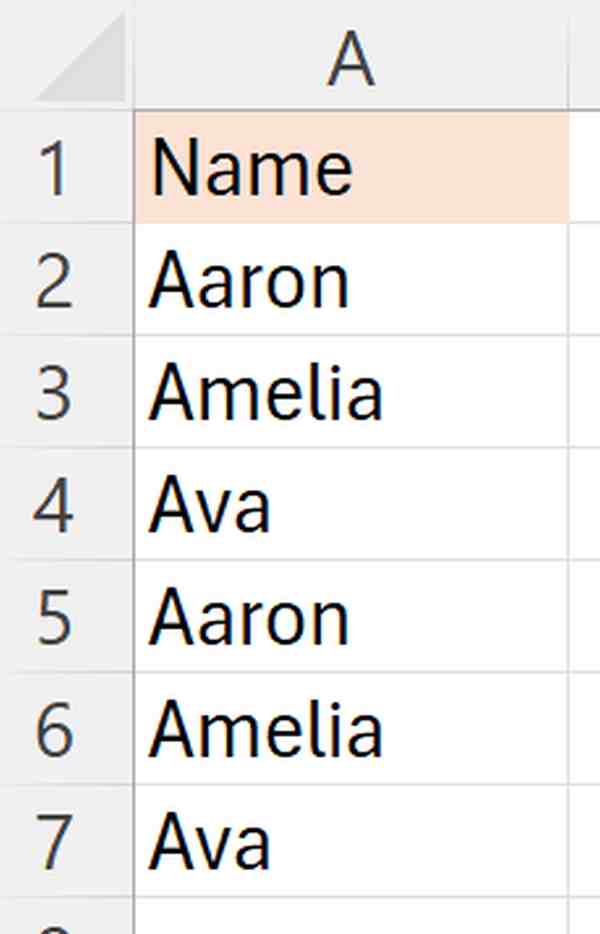
This will now display the non-duplicate names.
We hope that you now have a better understanding of how to remove non-duplicates in Excel. If you enjoyed this article, you might also like our article on how to delete duplicates in a column in Excel or our article on how to delete both duplicates in Excel.