Split Email Addresses in Excel (Easiest Way in 2025)
In this article, we will explore how to split email addresses in Excel by using formulas and the “Text to Columns” tool. Simply follow the steps below.
Method 1: How to Split Email Addresses in Excel Using Formulas
Follow the steps below to split email addresses in Excel by using formulas.
1. Organize Your Data
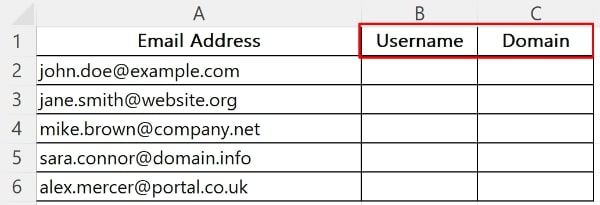
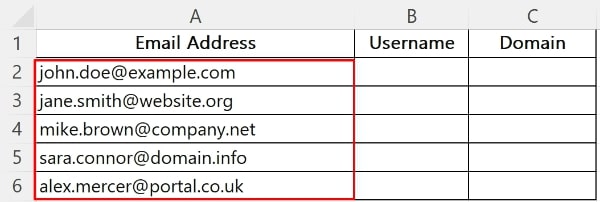
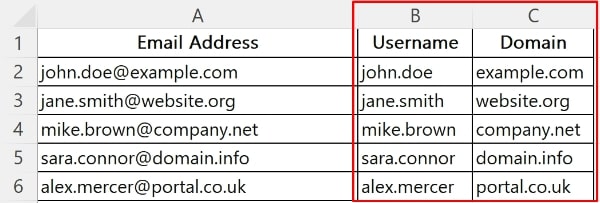
Ensure your email addresses are listed in a single column. Create headers “Username” and “Domain” in cells B1 and C1 respectively to identify the parts of the email addresses once split.
2. Use the LEFT and FIND Functions to Extract the Username
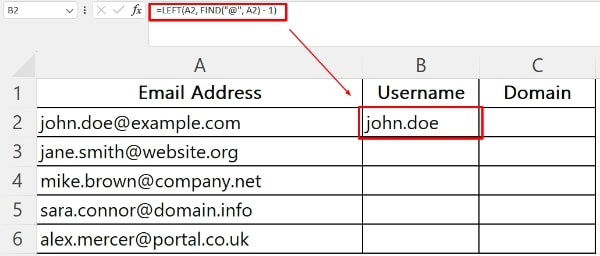
Enter this formula in cell B2 to extract the username (the part before the ‘@’): “=LEFT(A2, FIND(“@”, A2) – 1)“. This formula finds the position of the “@” symbol and extracts all characters to the left of it.
3. Use the RIGHT, LEN, and FIND Functions to Extract the Domain
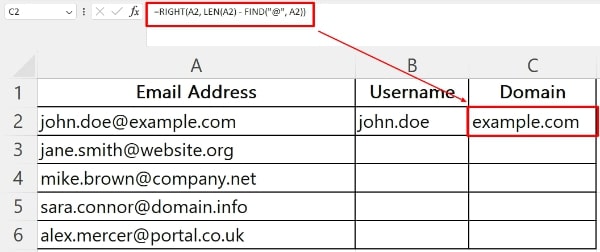
Enter this formula in cell C2 to get the domain (the part after the ‘@’): “=RIGHT(A2, LEN(A2) – FIND(“@”, A2))“. This formula calculates the total length of the email address and subtracts the position of the “@” to determine how many characters to extract from the right.
4. Copy the Formulas Down
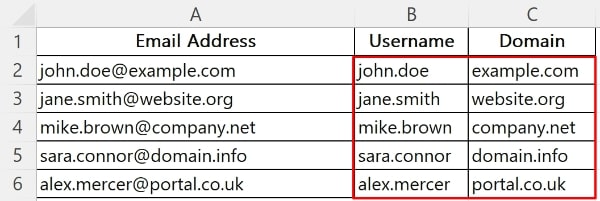
Drag the fill handle (the small square at the bottom-right corner of the cell) from cells B2 and C2 downwards to apply the formulas to other cells in the column. This will split the rest of the email addresses.
Method 2: How to Split Email Addresses in Excel Using “Text to Columns”
Follow the steps below to split email addresses in Excel using the “Text to Columns” tool.
1. Select Your Data
Click on the first entry in the column (A2), and drag down to select all the cells containing email addresses.
2. Open “Text to Columns”
Go to the Data tab on the Excel ribbon and click on “Text to Columns.” This opens the Convert Text to Columns Wizard.

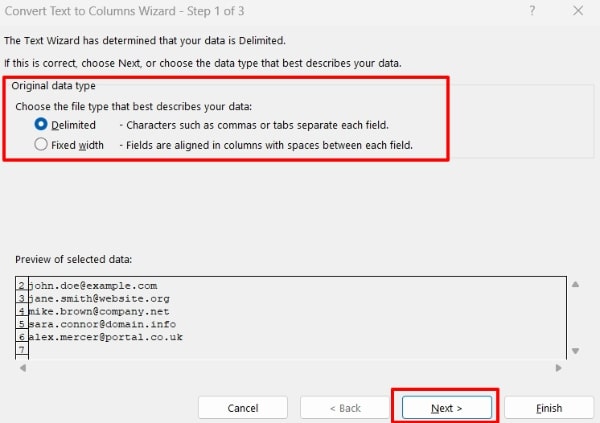
3. Choose “Delimited”
Select “Delimited” to specify that your data is separated by a specific character. Click “Next.”
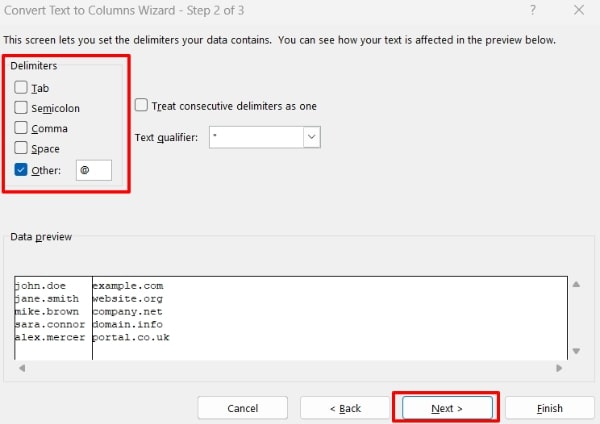
4. Set Delimiters
Uncheck all pre-selected delimiters and only check “Other.” In the box next to “Other,” enter the ‘@’ symbol because it separates usernames from domains in email addresses. Click “Next.”
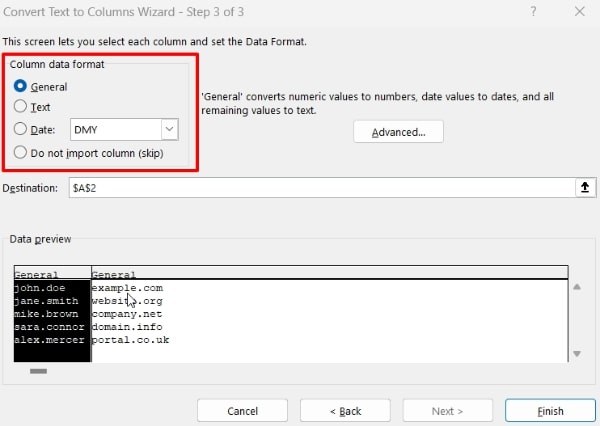
5. Format Data
You can choose to set data formats for the new columns, but it’s typically fine to leave the default setting as “General.” Click “Next.”
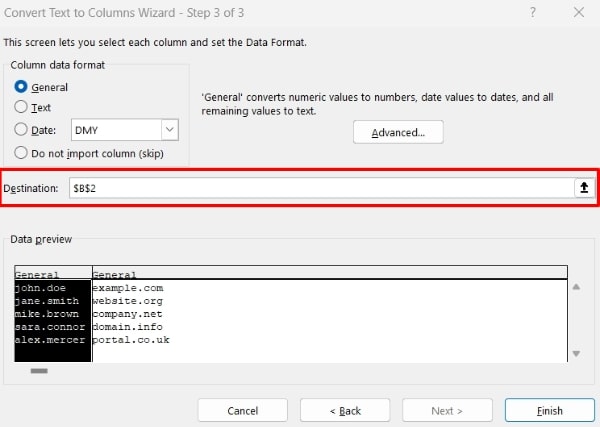
6. Set the Destination
Choose where to put the split data. By default, it will overwrite your existing data. Click on the “Destination” box and select B2 as the new starting cell. Click “Finish.”
7. Verify and Adjust
Ensure that usernames appear in one column and domains in the next. For example, usernames should now be in column B and domains in column C.
We hope that you now have a better understanding of how to split email addresses in Excel. If you enjoyed this article, you might also like our article on how to split an address in excel and how to split a cell horizontally in excel.