How to Set Print Area in Excel (Easiest Way in 2025)
In this article, we will learn how to set the print area in Excel from the Page Layout tab and from the Page Setup dialog box. Simply follow the steps below.
Method 1: How to Set the Print Area From Page Layout
Follow the steps below to set the print area in Excel from the Page Layout tab.
1. Select the Cells
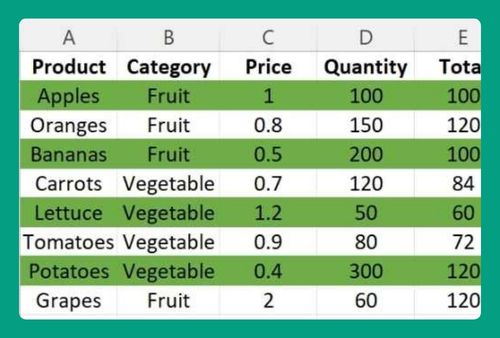
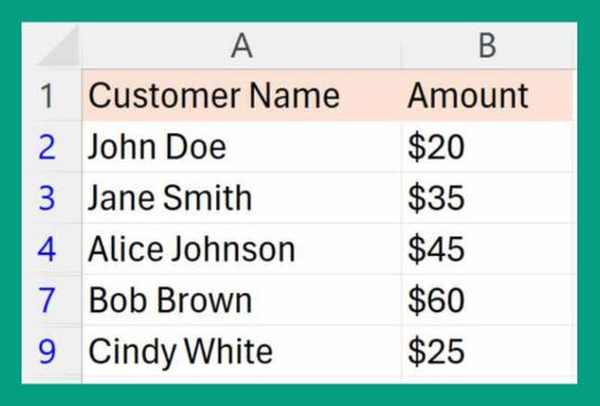
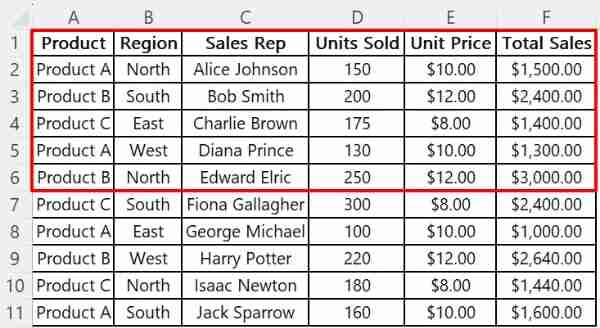
Click and drag to select the range of cells you want to print. We will use this basic sales sheet as our dataset. For this example, we will only print the first five entries under the headers.
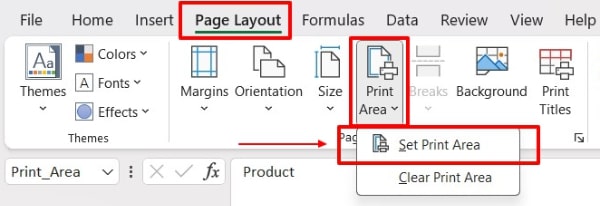
2. Navigate to Page Layout
Go to the Page Layout tab in the Ribbon and click Print Area. From the dropdown menu, select Set Print Area.
3. Confirm the Print Area
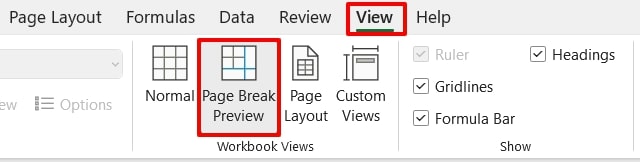
To confirm the print area, go to the View tab. Click on Page Break Preview to see how the selected cells will appear when printed.
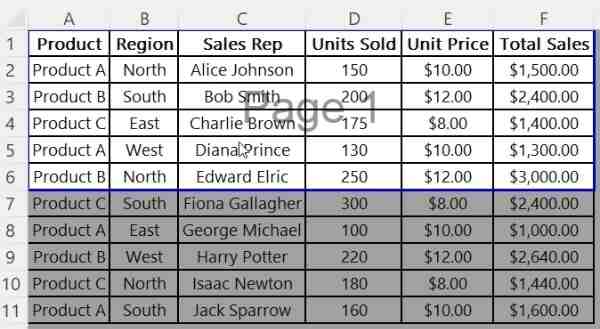
4. Check and Make Adjustments
Check how your print area looks. If you need to change or clear the print area you set, re-do Step 2 and select your desired action from the dropdown menu.

Method 2: How to Set the Print Area From Page Setup
Follow the steps below to set the print area in Excel from the Page Setup dialog box.
1. Open Page Setup
Go to the Page Layout tab. Click the small arrow in the bottom-right corner of the Page Setup group to open the Page Setup dialog box.

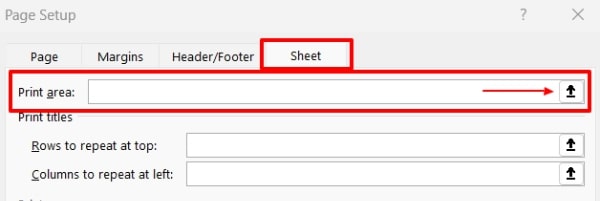
2. Navigate to Sheet
In the Page Setup window, go to the Sheet tab. Click the collapse icon next to the Print area box.
3. Select the Cells
Select the cells you want to print. The range should appear in the box.
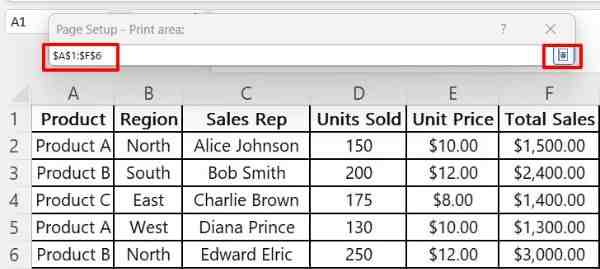
4. Confirm the Print Area
Click the icon again to expand the dialog box then click OK confirm.

5. Check and Make Adjustments
Check how your print area looks. If you need to change or clear the print area you set, re-do Step 2 and select your desired action from the dropdown menu.
We hope that you now have a better understanding of how to set the print area in Excel. If you enjoyed this article, you might also like our article on how to do split multiple lines in one cell in Excel and how to print Excel with lines.