Password Protect Excel Files (Easiest Way in 2025)
In this article, we will show you how to password protect an Excel file. Simply follow the steps below.
Password Protect Excel Files
Below are the steps on how to password protect an Excel file.
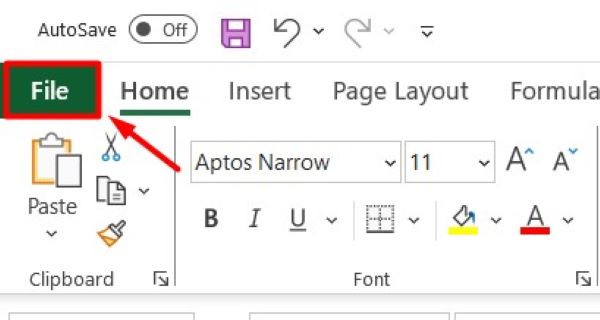
1. Open the File Menu in Excel
Click on the “File” tab in the upper left corner of Excel. This will open the file management options, where you can save, open, and protect your workbook.
2. Select the Info Tab from the File Menu
In the File menu, select the “Info” tab on the left side. This tab provides options related to the security and properties of your workbook.

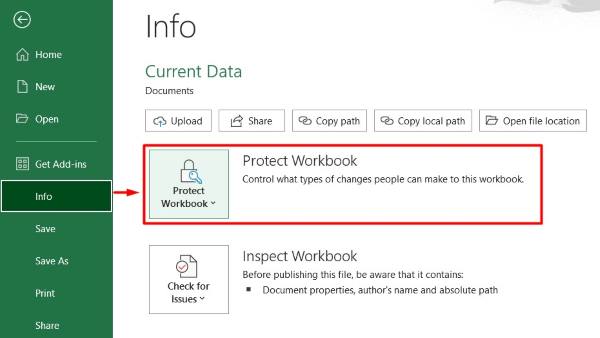
3. Choose the Protect Workbook Option
Under the Info tab, click on the “Protect Workbook” button. This will open a dropdown menu with various protection options, including setting a password.
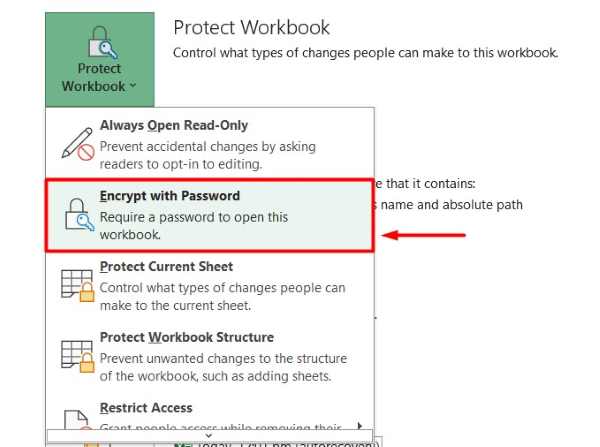
4. Select Encrypt with Password
From the dropdown menu, choose “Encrypt with Password.” A dialog box will appear, prompting you to enter a password for your workbook.
5. Enter and Confirm Your Password
In the dialog box, type a password in the “Password” field.
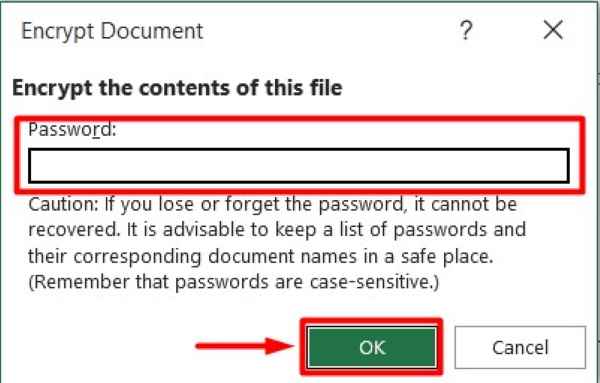
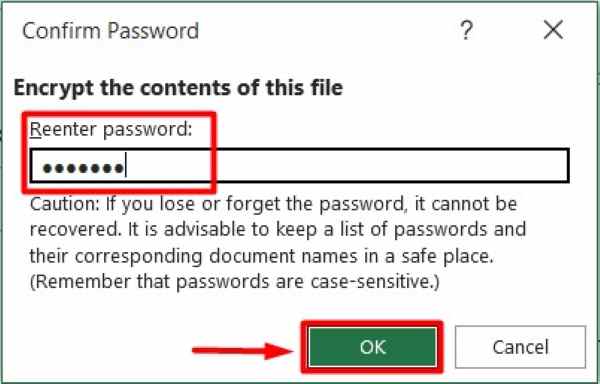
Then, re-enter the same password in the “Reenter password” field to confirm it. Click “OK” to apply the password protection.
6. Save Your Excel File
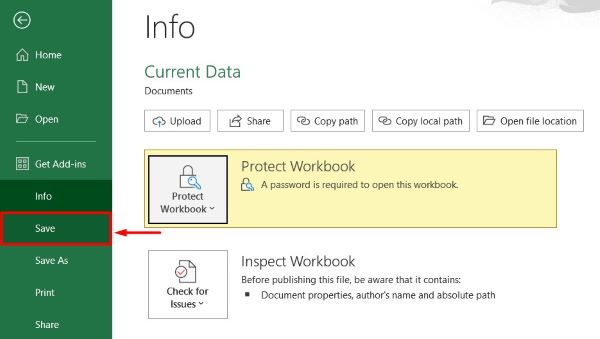
Click the “Save” button or use the shortcut “Ctrl + S” to save your Excel file. This step ensures that the password protection is applied to your workbook.
7. Verify the Password Protection Works
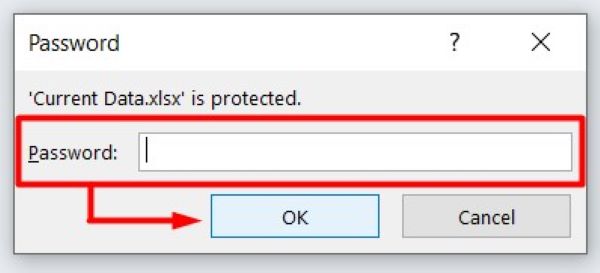
Close the Excel file and then reopen it. You should be prompted to enter the password you set earlier. This step verifies that the password protection is working correctly.
We hope you now have a better understanding of how to password protect an Excel file. If you enjoy this article, you might also like our article on how to remove passwords from Excel files or our article on how to recover Excel files.

