How to Save Excel as Word (Easiest Way in 2025)
In this article, we will show you how to save an Excel file as a Word document. Simply follow the steps below!
How to Save an Excel File as a Word Document
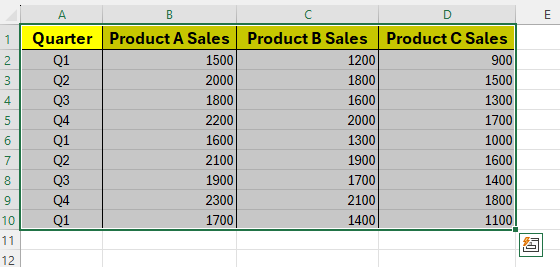
Below, we outline the steps on how to save an Excel file as a Word document. Let’s use an example where you have an Excel file named “SalesReport.xlsx” with quarterly sales data.
1. Open Your Excel File
Launch Microsoft Excel. Open “SalesReport.xlsx.”

2. Select the Content
Click and drag to select the cells containing your quarterly sales data (e.g., A1:D10).
3. Copy the Content
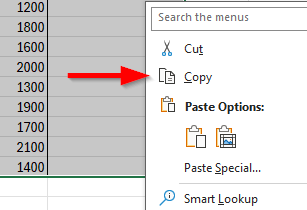
Right-click on the selected area and choose “Copy.” Alternatively, you can press “Ctrl + C” to copy the selected content.
4. Open Microsoft Word
Launch Microsoft Word. Open a new document or an existing one where you want to insert the sales data.

5. Paste the Content
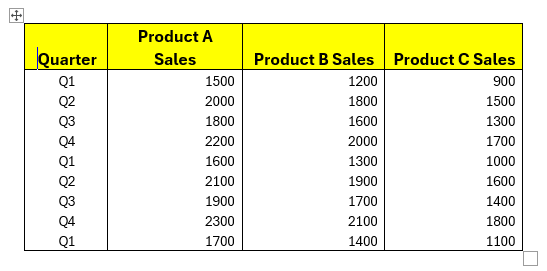
Place the cursor where you want the sales data to appear. Right-click and choose “Paste” to insert the content. You can also press “Ctrl + V” to paste.
Here’s what our example looks like:
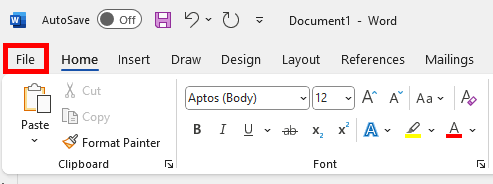
6. Save the Word Document
Go to File > Save As. Choose a location to save your file, such as the “Documents” folder.

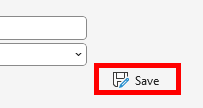
Enter a name for your document, e.g., “Quarterly_Sales_Report.docx.” Select “Word Document (*.docx)” as the file type.

Click Save.
We hope that you now have a better understanding of how to save an Excel file as a Word document. If you enjoyed this article, you might also like our articles on how to disable autosave in Excel and how to save an Excel file with a password.