How to Split Addresses in Excel (Easiest Way in 2025)
In this article, we will learn how to split addresses in Excel by using formulas, the “Flash Fill” function, and the “Text to Columns” tool. Simply follow the steps below.
Method 1: How to Split Addresses in Excel Using Formulas
Follow the steps below to split addresses in Excel by using formulas.
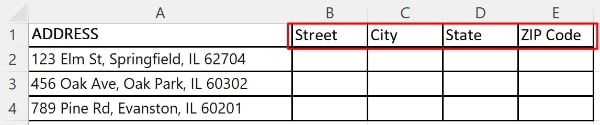
1. Identify Columns
Decide how many parts you want to split the address into. Typically, this would be: Street, City, State, and ZIP Code. Label the next columns accordingly.
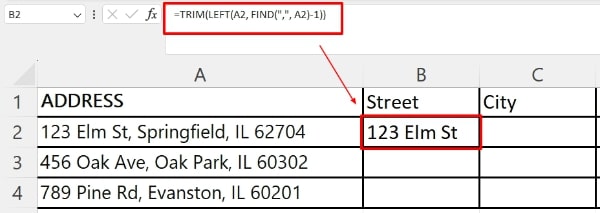
2. Split the Street Address
Enter the following formula in the cell where you want the street address to appear: “=TRIM(LEFT(A2, FIND(“,”, A2)-1))“. This formula extracts all characters from the start of the string up to one character less than where the first comma is found, effectively capturing just the street address.
3. Split the City
Enter the following formula in the cell where you want the city to appear: “=TRIM(MID(A2, FIND(“,”, A2) + 1, FIND(“,”, A2, FIND(“,”, A2) + 1) – FIND(“,”, A2) – 1))“. This formula extracts the characters right after the first comma and finds the position of the second comma, which captures the city.

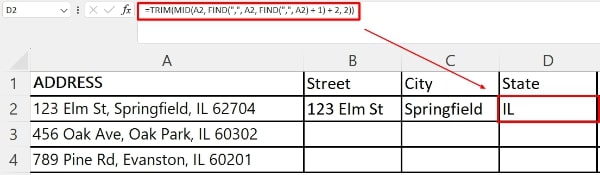
4. Split the State
Enter the following formula in the cell where you want the state to appear: “=TRIM(MID(A2, FIND(“,”, A2, FIND(“,”, A2) + 1) + 2, 2))“. This formula locates the second comma and extracts two characters starting two positions after this comma, which corresponds to the state abbreviation.
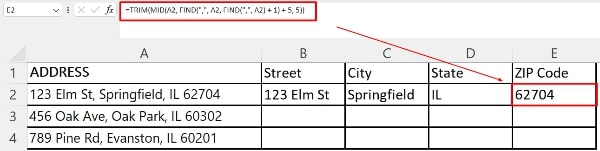
5. Split the ZIP Code
Enter the following formula in the cell where you want the ZIP code to appear: “=TRIM(MID(A2, FIND(“,”, A2, FIND(“,”, A2) + 1) + 5, 5))“. This formula extracts four characters after the second comma, which skips the state abbreviation and a space. The number ‘5’ extracts the next five characters that correspond to the ZIP code.
6. Apply the Formulas to the Rest of The Cells
Drag the formulas down to split street addresses, city names, states, and ZIP codes for all entries.

Method 2: How to Split Addresses in Excel Using “Flash Fill”
Follow the steps below to split addresses in Excel using the “Flash Fill” function.
1. Label the Columns
Create labels in adjacent columns above your list of addresses. For example, A1 is your original address, so type “Street” in B1,”City” in C1, “State” in D1, and “ZIP Code” in E1.

2. Manually Enter the First Example
Enter the first example in each column. For this sample dataset, type “123 Elm St” in B2 based on the first address in A2. Do the same for C2, D2, and E2.

3. Use “Flash Fill”
Go back to cell B2, then click on the “Data” tab on the ribbon. In the Data Tools group, click on “Flash Fill”. Excel will automatically fill down the rest of the column in B with the street addresses.

4. Fill Down the Rest of the Columns
Repeat this step for columns C, D, and E to fill the city names, states, and ZIP codes respectively.

Method 3: How to Split Addresses in Excel Using “Text to Columns”
Follow the steps below to split addresses in Excel using the “Text to Columns” tool.
1. Select Your Data
Click and drag to select the cells that contain the addresses you want to split.

2. Access the “Text to Columns” Wizard
Go to the Data tab on the ribbon at the top of Excel. Then click on “Text to Columns”. This will open the wizard.

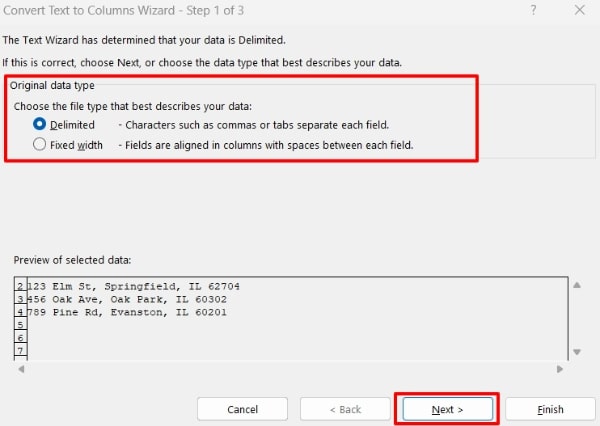
3. Choose the File Type
Select “Delimited” in the wizard. This means your data is separated by a delimiter such as a comma. Click “Next”.
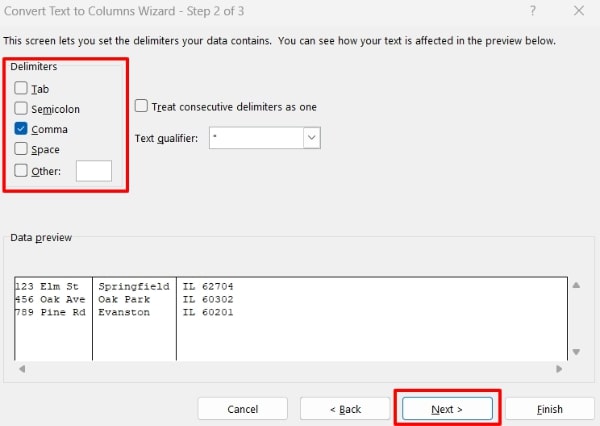
4. Set Delimiters
Choose “Comma” as your delimiter. This will separate the street address from the city and state & ZIP code at each comma. Do not select “Space” as a delimiter here, to ensure street address and cities with multiple words stay together. Click “Next”.
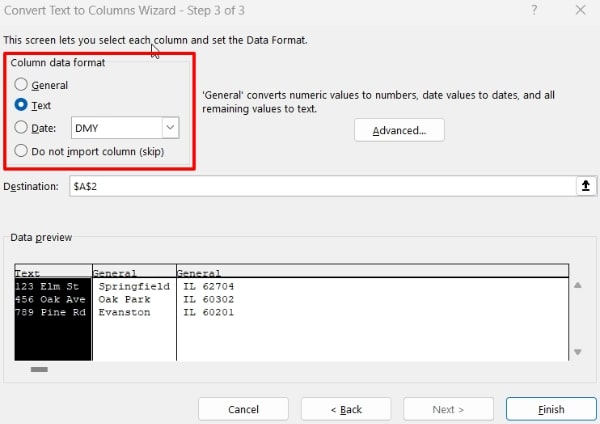
5. Format Data
Decide on the data format for your new columns. Typically, “General” will suffice, but select “Text” for columns like ZIP code to maintain leading zeros or any special formatting. Click “Next”.
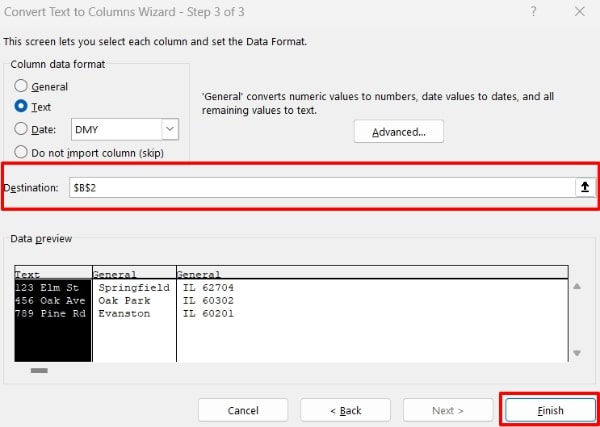
6. Set the Destination
Set the “Destination” for the split data. You can overwrite the existing data or choose a new starting column to keep the original intact. Click “Finish”.
7. Split State and ZIP Code
Now, select the column containing the state and ZIP code. Repeat steps 2 through 6.

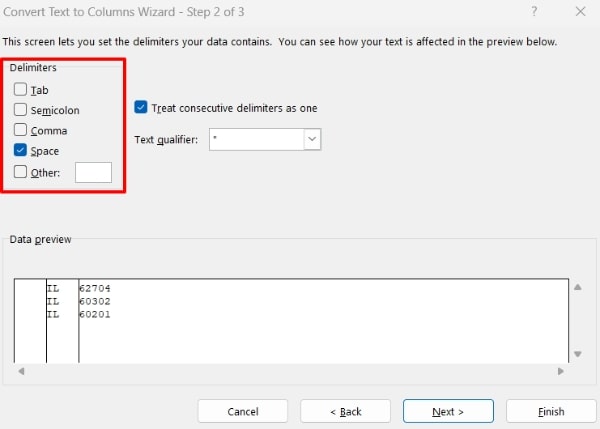
8. Select the Correct Delimiter
This time, select “Space” as the delimiter to split the state from the ZIP code. Set the correct data format and destination for these columns.
We hope that you now have a better understanding of how to split addresses in Excel. If you enjoyed this article, you might also like our article on how to split numbers in excel and how to split email address in excel.