How to Delete Unfiltered Rows in Excel (2025 Update)
In this article, you will learn how to delete unfiltered rows in Excel in just a few clicks. Simply follow the steps below.
Delete Unfiltered Rows in Excel
Below are some of the most common methods to delete unfiltered rows in Excel:
Method 1: Using the Filter Feature
Follow the steps below to easily delete unfiltered rows containing blank or empty content in Excel using the filter feature.
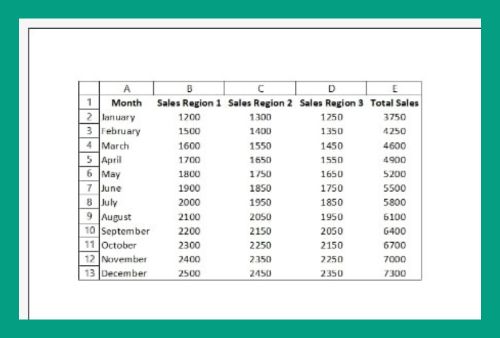
1. Select the Entire Dataset
On your Excel spreadsheet, click and drag your mouse to select all the cells containing your data. Ensure you encompass all the rows and columns you want to filter.
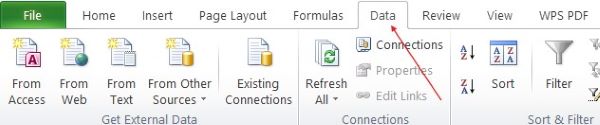
2. Go to the “Data” Tab
Move to the “Data” tab located at the top of the Excel window.
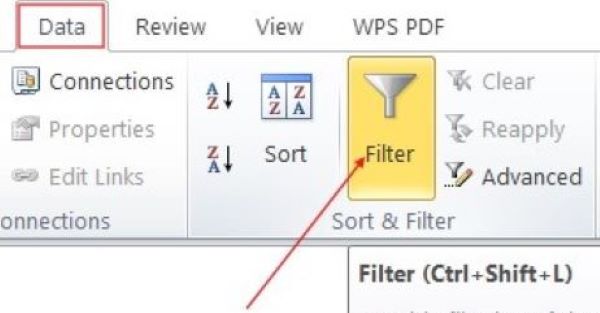
3. Click on “Filter”
Once on the “Data” tab, locate the “Sort & Filter” group. Click on the “Filter” button within this group.
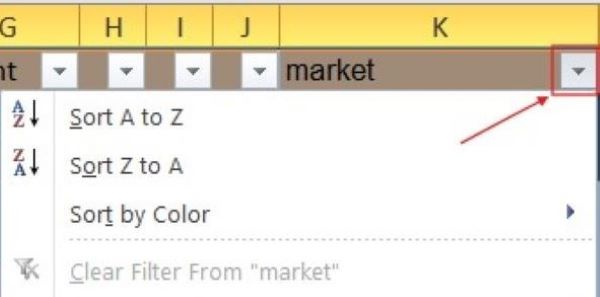
4. Apply Filters
With your dataset selected, click the filter arrow next to the column header where you want to delete unfiltered rows.
5. Uncheck “Select All”
Within the filter options, uncheck the box labeled “Select All” to clear all selections.
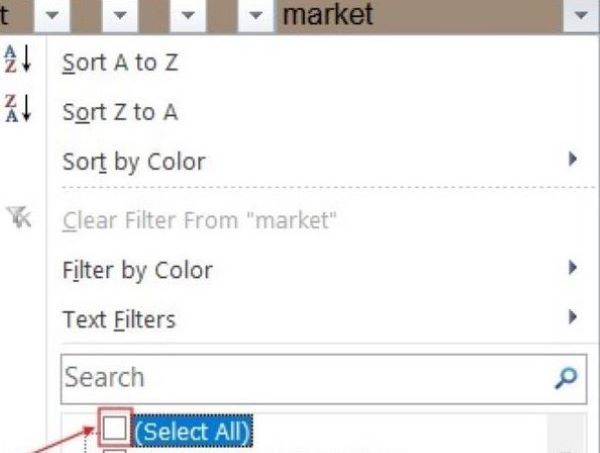
6. Select “Blanks”
Find and select the checkbox labeled “Blanks” and click “OK.” This will filter the column to display only the rows with blank cells.

7. Review Filtered Rows
Take a moment to review the filtered rows. Ensure they contain only the blank cells you want to delete.
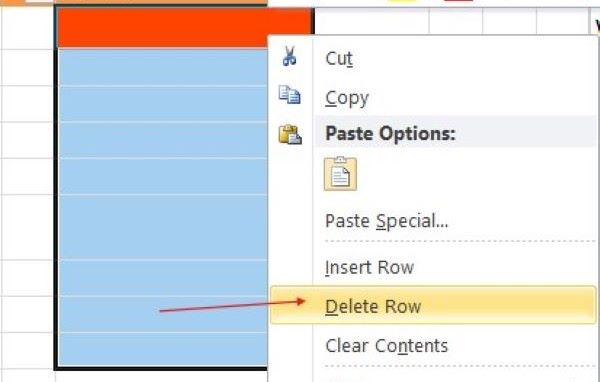
8. Select Filtered Rows, Right-click, and Choose “Delete”
Click and drag to select all the filtered rows that contain the blank cells you wish to remove. Right-click on any of the highlighted rows. From the context menu that appears, choose the “Delete Row” option.
9. Confirm Deletion
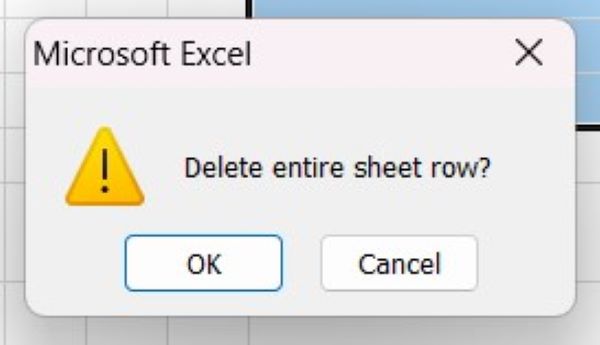
A confirmation dialog will appear. Confirm the deletion by clicking “OK.”
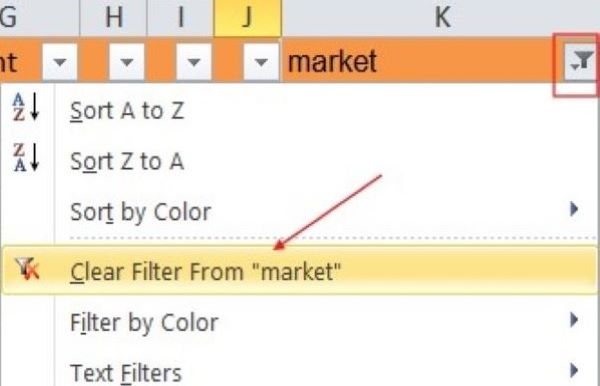
10. Clear Filters
Clear the filters by clicking the filter arrow again and selecting “Clear Filter From [Column Name]” for each filtered column.
11. Review Your Data
Ensure that the unfiltered rows have been successfully deleted and that your data appears as desired.
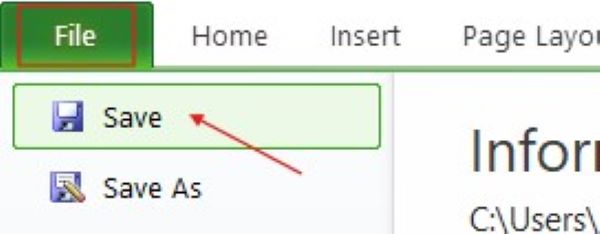
12. Save Your Spreadsheet
Save your Excel spreadsheet to preserve the changes you’ve made.
Method 2: Using the Find and Replace Feature
To delete unfiltered rows containing content in Excel using the find and replace feature, simply follow the steps below.
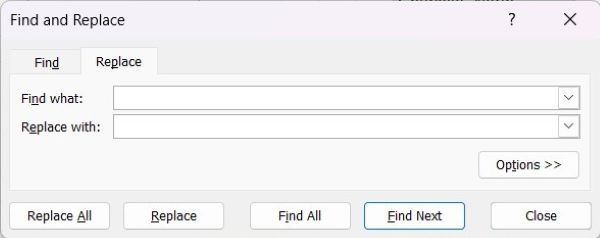
1. Press Ctrl + H
Press Ctrl + H on your keyboard to open the “Find and Replace” dialog box.
2. Type an Asterisk (*) in the “Find what” field
In the “Find what” field, input an asterisk (*) to represent all content in a cell.
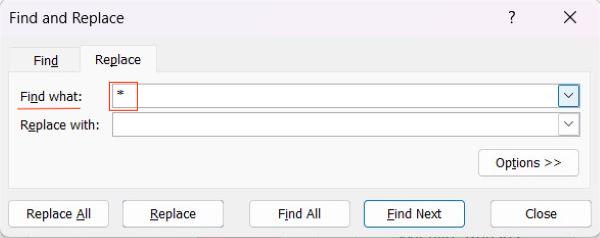
3. Leave “Replace with” Empty
Leave the “Replace with” field empty. We don’t want to replace anything; just find content.
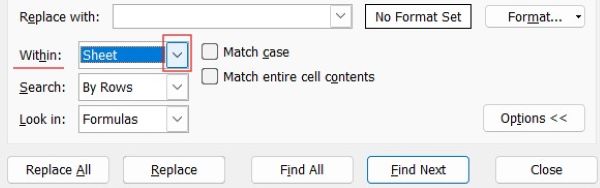
4. Click on Options
Click on “Options” to expand additional settings in the dialog box.

5. Ensure “Within” is Set to “Sheet” or “Workbook”
Ensure that the “Within” option is set to “Sheet” or “Workbook,” depending on your preference.
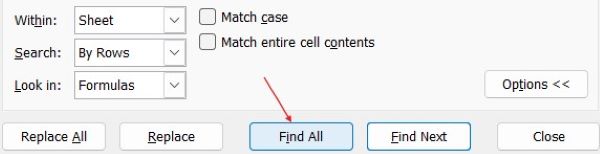
6. Click “Find All”
Click “Find All” to locate all instances of cells with content.
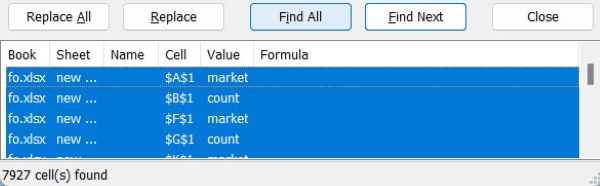
7. Select All Results
Select all the results by pressing Ctrl + A or clicking on the first result, then pressing Shift and clicking on the last result. Then hit Close to exit the dialog box.
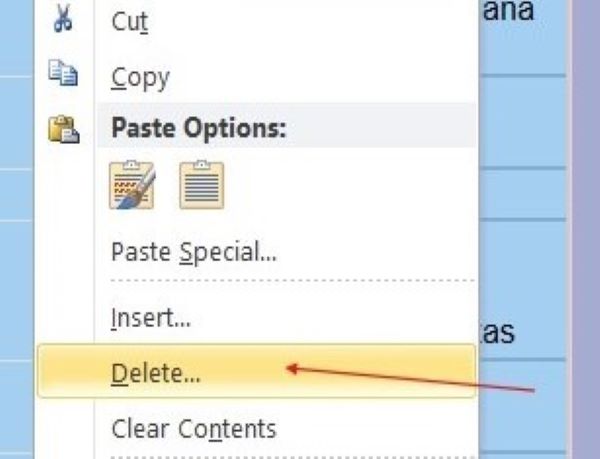
8. Right-click and Choose “Delete”
With all the rows containing content selected, right-click on any of the selected rows and choose “Delete” from the context menu.
9. Confirm Deletion
If prompted, click OK to confirm the deletion. This will remove all the rows with content from your dataset.
Method 3: Using the Go To Special Feature
In this section, you’ll learn to use the Find and Replace feature for deleting unfiltered rows with blank cells in Excel.
1. Select the Entire Dataset
Click and drag your mouse to select all the cells containing your data. Ensure you encompass all the rows and columns you want to filter.
2. Press Ctrl + G
Press Ctrl + G on your keyboard to open the “Go To” dialog box.
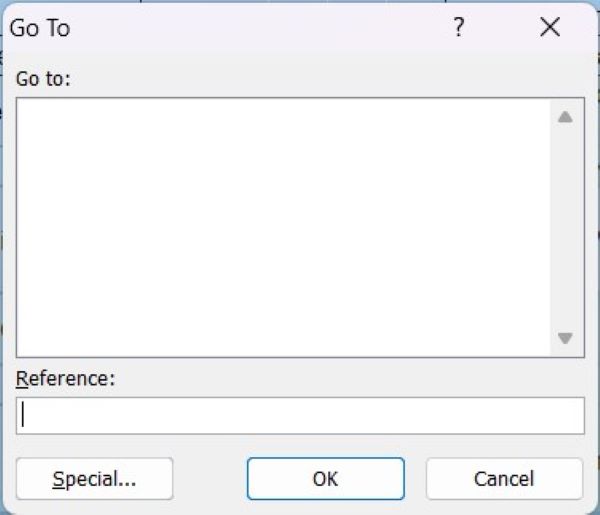
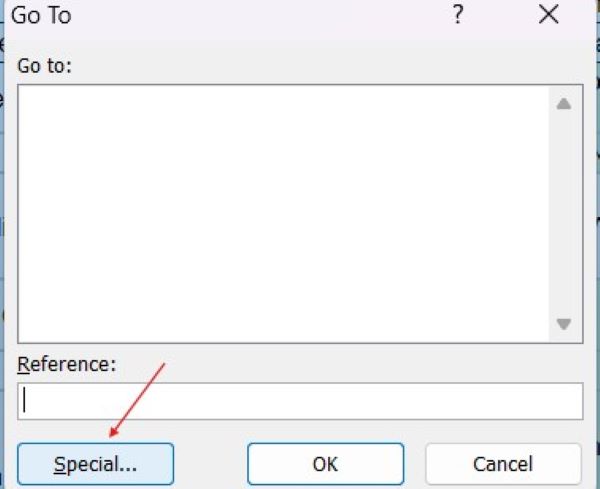
3. Click on “Special…”
In the “Go To” dialog box, click on the “Special…” button to open the “Go To Special” dialog box.
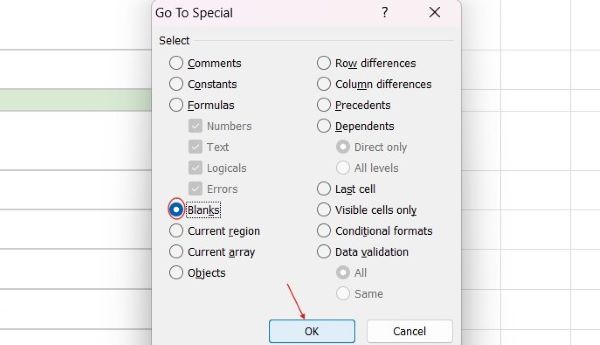
4. Select the Option for “Blanks”
In the “Go To Special” dialog box, select the option for “Blanks” and click “OK.”
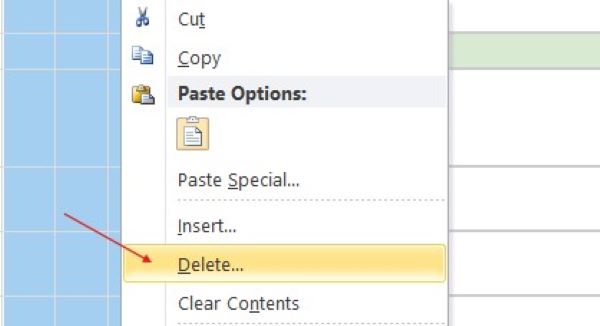
5. Right-click and Choose “Delete”
Excel will now select all the blank cells in your dataset. Right-click on any of the selected cells and choose “Delete” from the context menu.
6. Confirm Deletion
Confirm the deletion if prompted. This will remove all the unfiltered rows with blank cells from your dataset.
We hope you now have a better understanding of how to delete unfiltered rows in Excel!
If you enjoyed this article, you might also like our article on how to delete filtered rows in Excel or our article on how to count filtered rows in Excel.