How to Remove Extra Pages in Excel PDF (Easiest Way in 2025)
In this article, we will show you how to remove extra pages in Excel PDF. Simply follow the steps below.
Remove Extra Pages in Excel PDF
Follow the steps below on how to remove extra pages in Excel PDF.
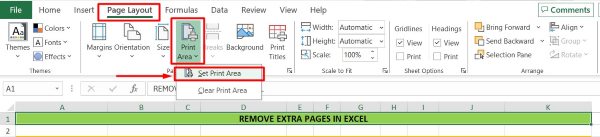
1. Select and Set the Print Area in Excel
Start by selecting the specific area in your Excel sheet that you want to include in the PDF. Click and drag to highlight the cells. Go to the “Page Layout” tab, then click on “Print Area” and select “Set Print Area.”
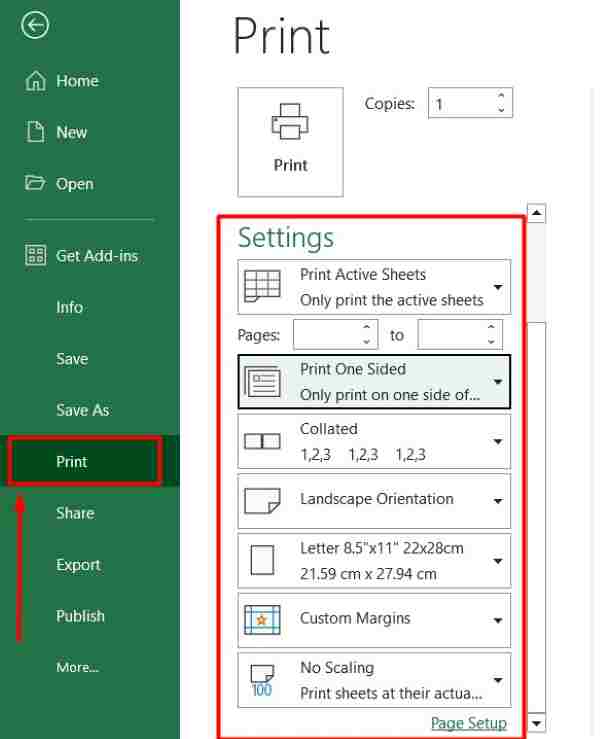
2. Preview the Document Before Printing
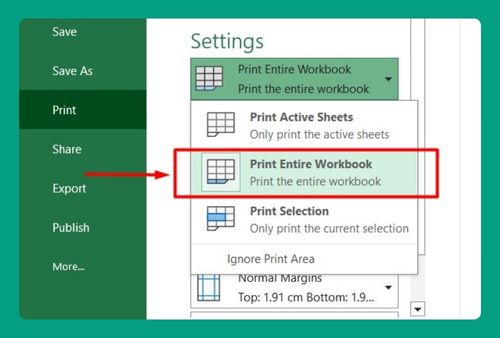
To see how your document will look as a PDF, go to “File” and select “Print.” Check the print preview for any extra blank pages. If you notice extra pages, adjust the print area or page settings accordingly until you’re satisfied with the layout.
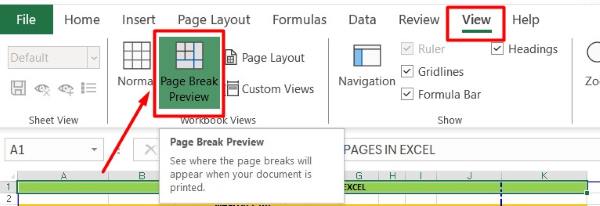
3. Adjust Page Breaks to Remove Extra Pages
If there are still extra pages, you need to adjust the page breaks manually. Go to the “View” tab and click on “Page Break Preview.”
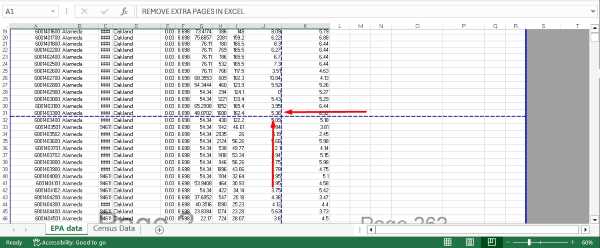
Drag the blue lines to reposition the page breaks so that only the necessary content is included within the page boundaries.
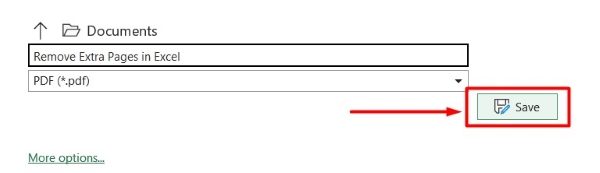
4. Save the Excel File as a PDF
Once you’re happy with the preview, it’s time to convert the Excel file to PDF. Go to “File,” select “Save As,” choose “PDF” from the file type dropdown menu, and then click “Save.” Your PDF should now only contain the pages you want.
We hope that you now have a better understanding of how to remove extra pages in Excel PDF. If you enjoyed this article, you might also like our article on how to convert Excel to PDF in one page or our article on how to convert Excel to PDF landscape.