How to Add a Text Box in Excel (Easiest Way in 2025)
In this article, we will show you how to make a text box in Excel. Simply follow the steps below.
How to Insert a Text Box in Excel
To add a text box in Excel, simply follow the steps below.
1. Open the Insert Tab
Click on the “Insert” tab in the Ribbon at the top of the Excel window. This tab contains tools for adding various elements to your spreadsheet.

2. Select Text Box Tool
In the “Insert” tab, find the “Text Box” option in the “Text” group. Click on it to activate the Text Box tool.

3. Draw the Text Box
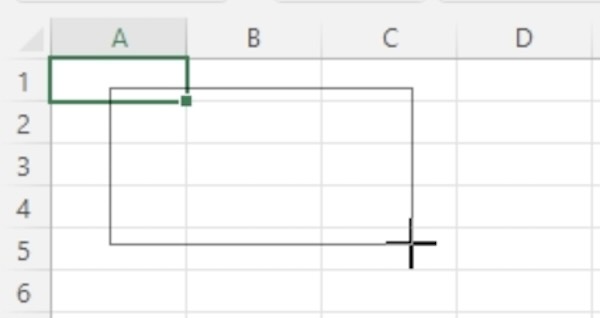
Click and hold the left mouse button on your spreadsheet. Drag the mouse to draw the text box to your desired size. Release the mouse button to place the text box.
4. Enter Text into the Box
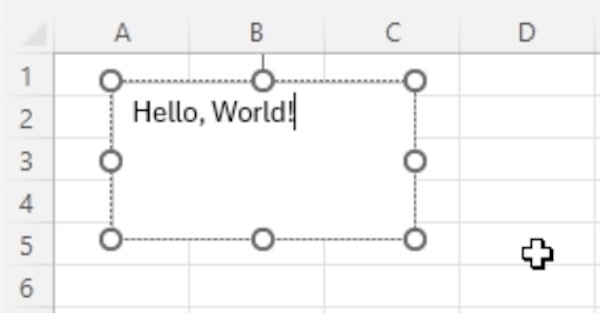
Click inside the text box. Type the text you want to include. For example, type “Hello, World!” to display this message in your text box.
We hope you now have a better understanding of how to insert a text box in Excel. If you enjoyed this article, you might also like our article on how to add bullet points in an Excel text box or our article on how to fit text in an Excel box.

