Data Validation for Email Addresses in Excel (2025 Guide)
In this article, we will show you how to use data validation for email addresses in Excel. Simply follow the steps below.

Validate an Email Address in Excel
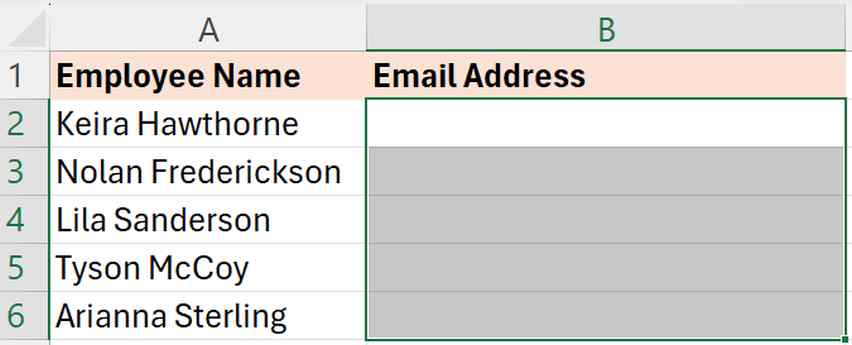
To validate email addresses in Excel, we will work with a dataset containing employee names in Column A. Follow the steps below.
1. Highlight the Email Address Cells for Validation
Select the cell range in Excel where data validation is needed. In our example, we’ll click and drag to highlight cells from B2 to B6 in the “Email Address” column where we will apply the email validation.
2. Open Data Validation Settings from the Data Tab
Access the Data Validation settings by clicking on the ‘Data’ tab and then selecting ‘Data Validation’ from the ‘Data Tools’ group. This action opens the Data Validation dialog box where we will set the criteria for email addresses.

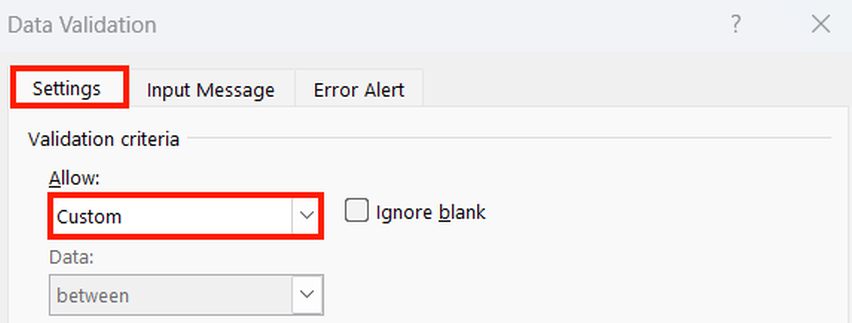
3. Input the Formula for Email Validation Under Custom Option
Within the Data Validation dialog box, go to the ‘Settings’ tab, find the ‘Allow’ dropdown menu, and select ‘Custom.’
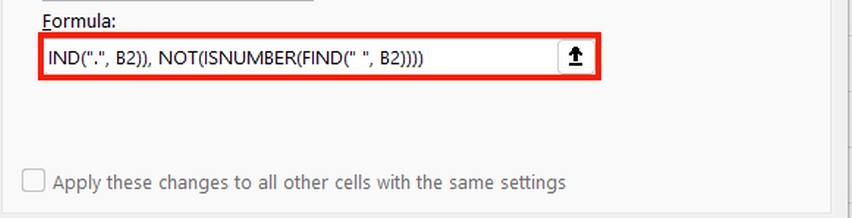
In the formula field below, we will input the formula:
=AND(ISNUMBER(FIND(“@”, B2)), ISNUMBER(FIND(“.”, B2)), NOT(ISNUMBER(FIND(” “, B2))))
Where:
ISNUMBER(FIND(“@”, B2)): This part of the formula searches for the “@” character within the cell B2. The FIND function returns the position of “@” in the string if it exists; otherwise, it results in an error. ISNUMBER then checks if the result of the FIND function is a number, which confirms the presence of “@” in the email.
ISNUMBER(FIND(“.”, B2)): Similar to the previous part, this searches for a period (“.”) in the email address. It uses the FIND function to locate “.” in the string and ISNUMBER to verify that the position returned is a numerical value, indicating the presence of a period.
NOT(ISNUMBER(FIND(” “, B2))): This part looks for spaces in the email address. FIND attempts to locate a space (” “) in the cell, and ISNUMBER checks if a space exists by verifying if the position is a number.
The NOT function then reverses the result: if a space is found (i.e., ISNUMBER returns TRUE), NOT converts this to FALSE, preventing validation of entries with spaces.
4. Set Up an Error Alert for Invalid Email Entries
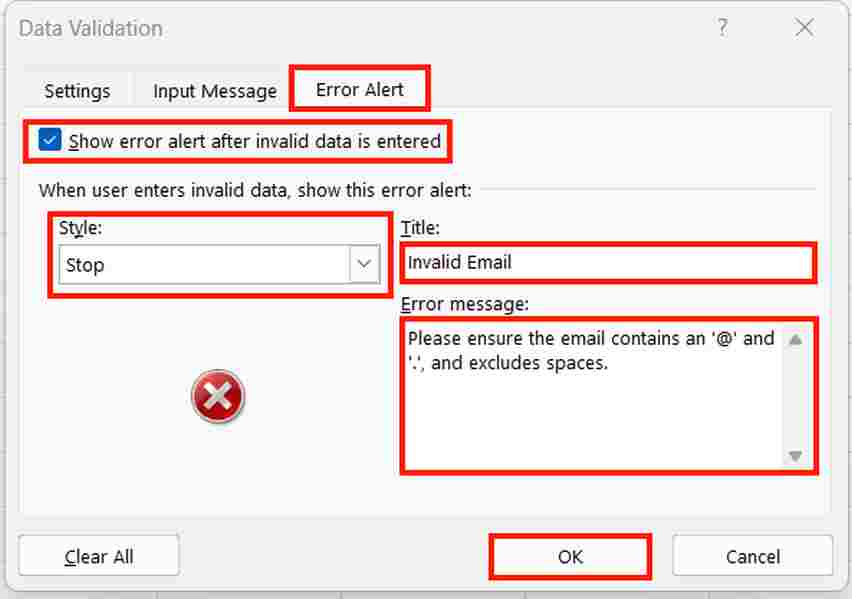
Stay in the Data Validation dialog box and switch to the ‘Error Alert’ tab. We’ll ensure the ‘Show error alert after invalid data is entered‘ box is checked and choose ‘Stop’ for the alert style.
We will then fill in a title and message that will inform users to enter a valid email address, like “Invalid Email” and “Please ensure the email contains an ‘@’ and ‘.’, and excludes spaces.” Click ‘OK’ when done.
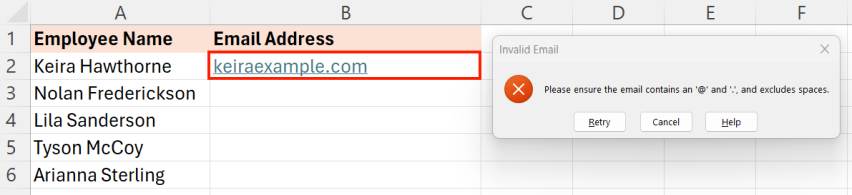
5. Test Email Validation by Entering Sample Emails
To test our email validation, enter an email address into one of the cells in the range B2 to B6. If the format is incorrect, the error message we set will display, notifying us of the need to correct it.
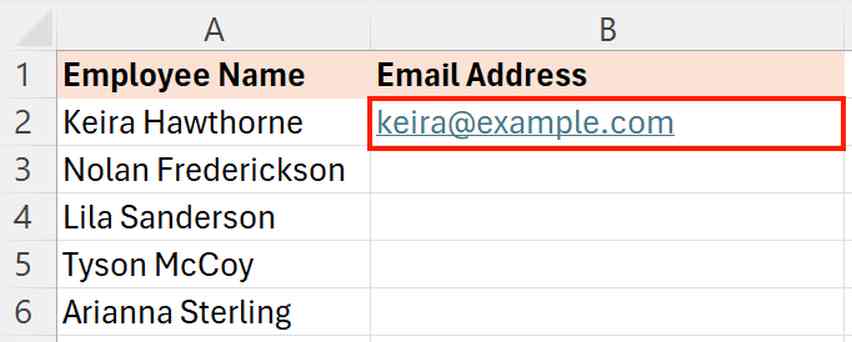
When we input a correctly formatted email, no message will appear, indicating our validation is working as expected.
We hope that you now have a better understanding of using data validation for email addresses in Excel. If you enjoyed this article, you might also like our article on how to remove domain from email address in Excel.