How to Link a Text Box to a Cell in Excel (Easiest Way in 2025)
In this article, we will show you how to link a text box to a cell in Excel. Simply follow the steps below.
Linked Text Box to Cell in Excel
To link a text box to a cell in Excel, simply follow the steps below.
1. Create a Text Box on the Sheet
First, create a text box on your Excel sheet. Imagine you have sales data in cells A1 to A10 and the total sales in cell B1. Click on the “Insert” tab in the ribbon. Then, click on “Text Box” in the “Text” group. Draw your text box anywhere on the sheet by clicking and dragging.

2. Select the Text Box
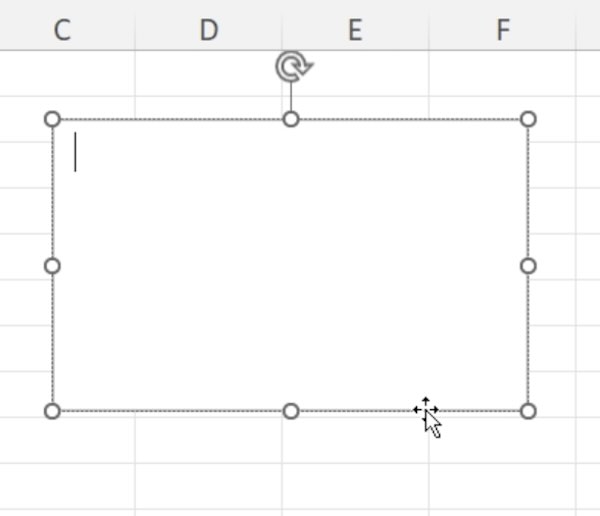
Click on the text box to select it. You will see small circles (handles) around the border of the text box, indicating that it is selected. This step prepares the text box for linking to the total sales in cell B1.
3. Open the Formula Bar
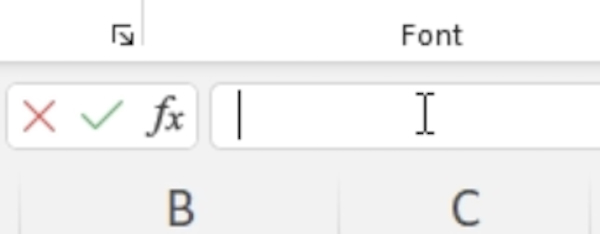
With the text box still selected, click on the formula bar at the top of the Excel window. This is where you will type the cell reference to link the text box to the total sales in cell B1.
4. Link Text Box to Cell B1
Type an equals sign (=) in the formula bar. Then, click on cell B1, where your total sales are calculated. The formula bar should now show =B1.

5. Confirm and Check the Link
Press Enter on your keyboard to confirm the link. The text box will now display the content of cell B1. Any changes to cell B1 will automatically update in the text box, reflecting the new total sales.

We hope you now have a better understanding of how to link a text box to a cell in Excel. If you enjoyed this article, you might also like our article on how to remove the drop down box in Excel or our article on how to insert formulas in a text box in Excel.


