How to Download Excel on Mac for Free (Easiest Way in 2025)
In this article, we will show you how to download Excel on your Mac. Simply follow the steps below.
Free Excel Download for Mac
To download Excel on Mac, simply follow the steps below.
1. Visit the Official Microsoft Website
Go to the Microsoft 365 official site on your web browser. This is where you can sign up for a trial which includes Excel.

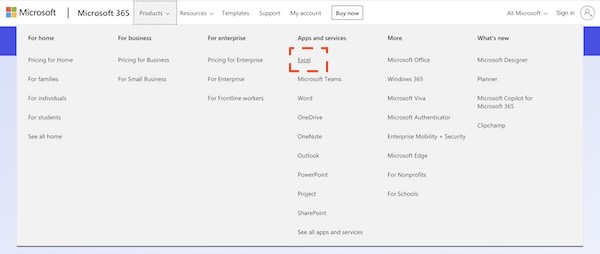
2. Navigate to the Products Menu
Once on the Microsoft 365 site, look for the “Products” menu. Under this menu, you’ll find different Microsoft applications, including Excel.
3. Select the Trial Option
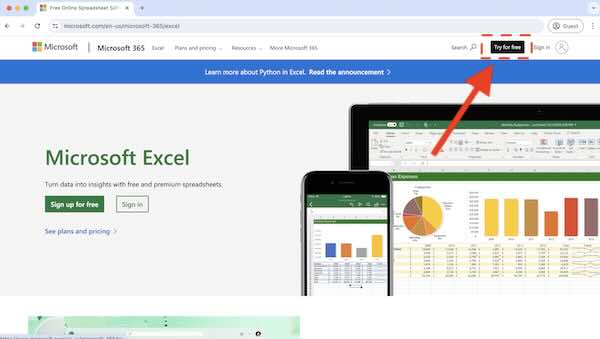
Find and click on the “Try for free” button. It’s usually prominent and designed to attract new users who want to test Microsoft products.
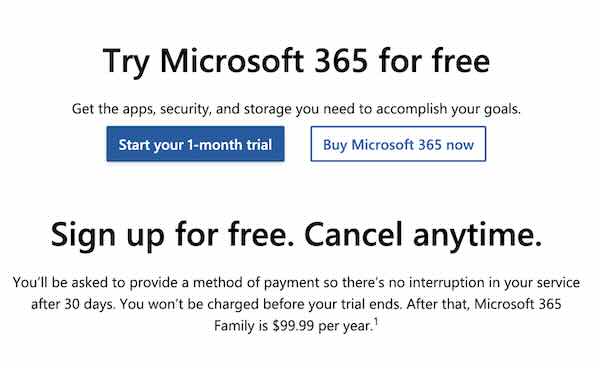
4. Create or Sign In to a Microsoft Account
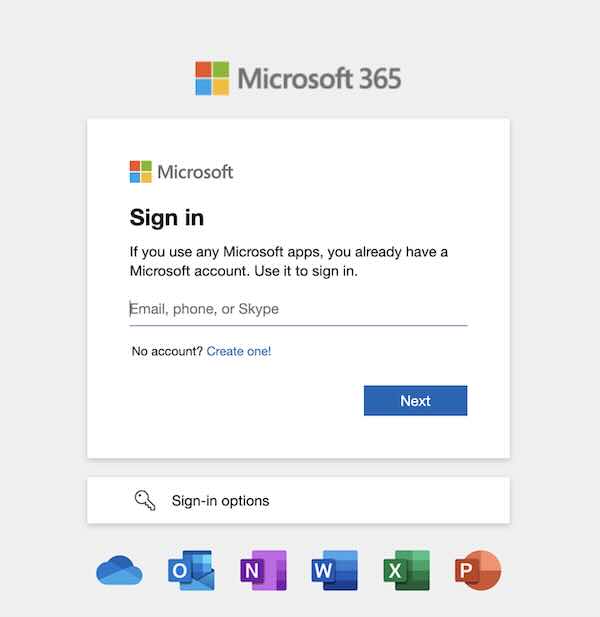
You will need a Microsoft account to proceed. If you don’t have one, you’ll be prompted to create one. If you already have an account, just sign in.
5. Download and Install Excel
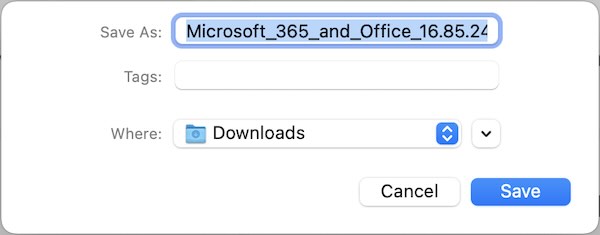
After signing in and choosing your trial, follow the on-screen instructions to download Excel. Once the download is complete, open the file to start the installation process.
6. Follow Installation Prompts
During the installation, you will receive prompts guiding you through the setup. Follow these to install Excel on your Mac.


7. Open Excel on Your Mac
After installation, find Excel in your Applications folder or search for it using Spotlight. Open it to start using Excel on your Mac.


We hope you now have a better understanding of how to download Excel on Mac for free. If you enjoyed this article, you might also like our article on how to download Outlook contacts to Excel or our article on how to download an Excel file on Mac.

