How to Make Merged Cells the Same Size in Excel (2025 Update)
In this article, we will show you how to make merged cells the same size in Excel. Simply follow the steps below.
How to Make all Merged Cells the Same Size in Excel
Merging cells in Excel combines adjacent cells into a larger one which is commonly used for headers or labels spanning multiple columns or rows. Follow the process below to make all merged cells the same size in Excel.
1. Select the Merged Cells that Needs Adjustment
Start by locating the merged cells you want to adjust in your Excel file. These are cells that have been combined into a single, larger cell.
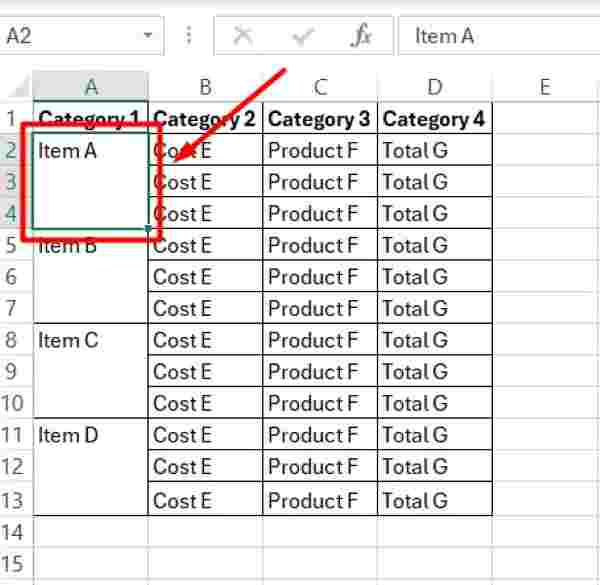
2. Unmerge the Cells
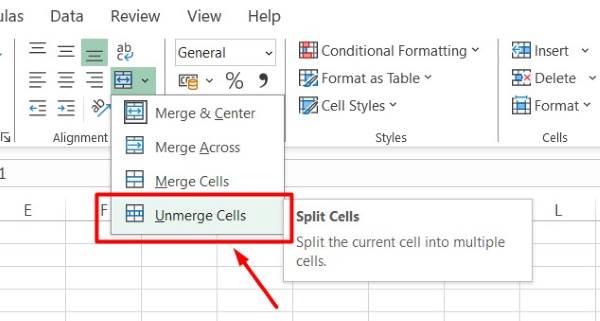
To make merged cells the same size, unmerge them first. Go to the “Home” tab, then click on “Alignment.” From the dropdown menu, select “Unmerge Cells.” This action separates the data from each merged cell into the top cell of each unmerged range.
3. Fill the Blank Cells with the same Respective Values
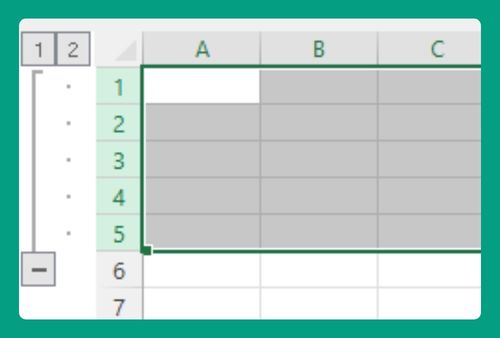
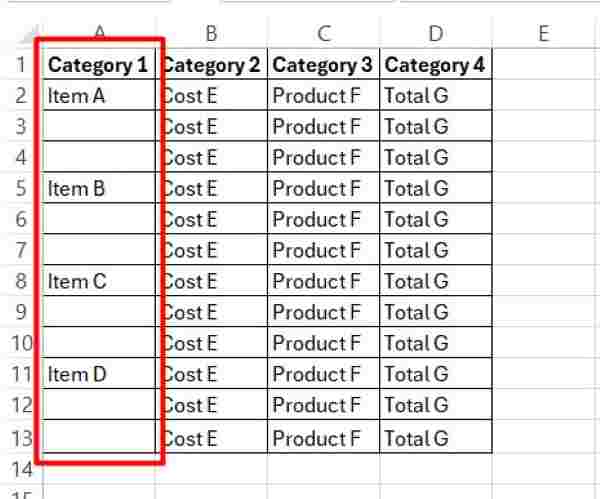
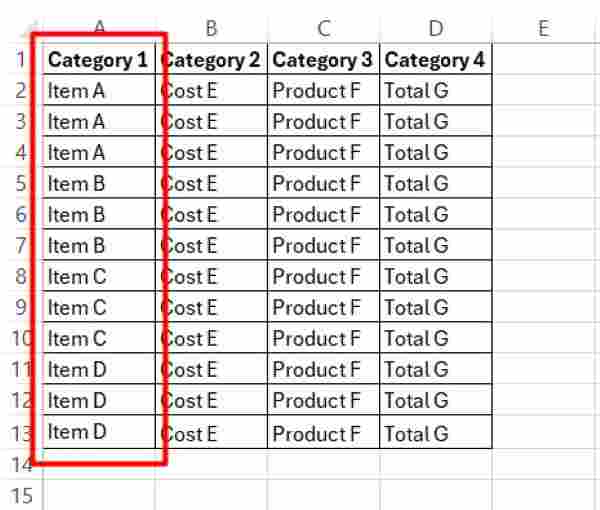
After unmerging the cells, you’ll notice blank spaces. Click on one of these cells to select it.
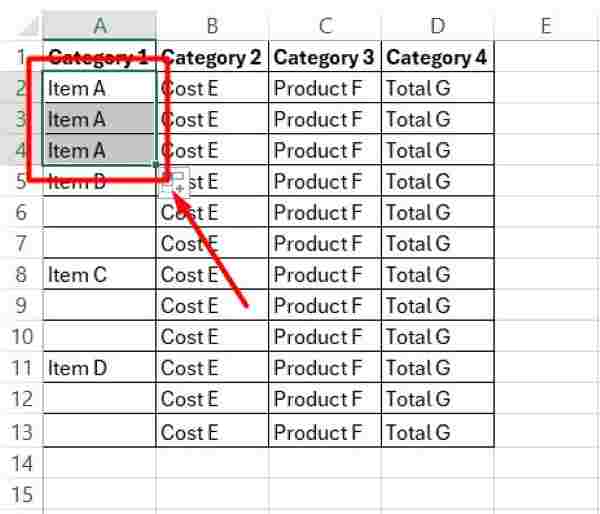
Then, drag the cell’s edge until it copies the data from the top cell down to the ones below.
4. Confirm all Merged Cells are now the Same Size
Check to ensure all merged cells are now the same size. You can do this by selecting all cells and checking the dimensions displayed in the top-left corner of the Excel window.
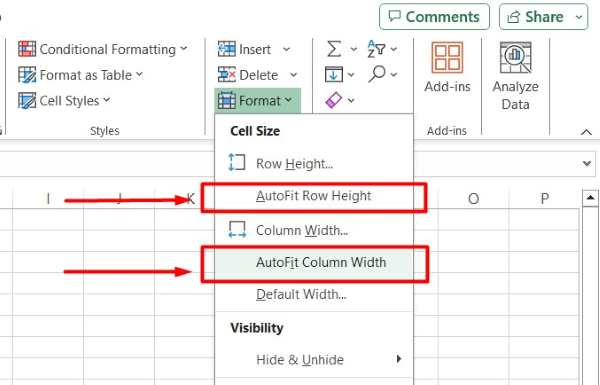
Alternatively, you can use the “Cells” tab, then click “Format,” and utilize the “AutoFit” button.
5. Merge the Cells again
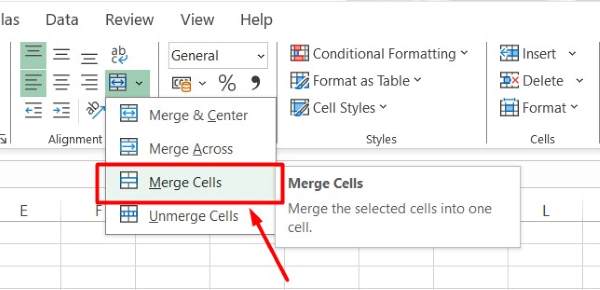
Once you’ve adjusted the cells, you can sort the data if needed. To re-merge the cells, select all the cells, right-click, and choose “Merge Cells” from the context menu.
We hope you now better understand how to make merged cells the same size in Excel. If you enjoyed this article, you might also like our article on how to use and create a mail merge in Excel or our article on how to filter merged cells in Excel.

