How to Unlock Cells in Excel Without Password (2025 Guide)
In this article, we will show you how to unlock cells in Excel without a password. Simply follow the steps below.

Unlock Cells in Excel Without a Password
Cells in Excel can be unlocked without a password using two effective methods: ‘Using Visual Basic for Applications (VBA)‘ and ‘Creating a New Workbook‘. We will discuss how to use each method in the following sections.
Method 1: Using Visual Basic for Applications (VBA)
Follow the steps below to unlock a cell with a password in Excel using VBA.
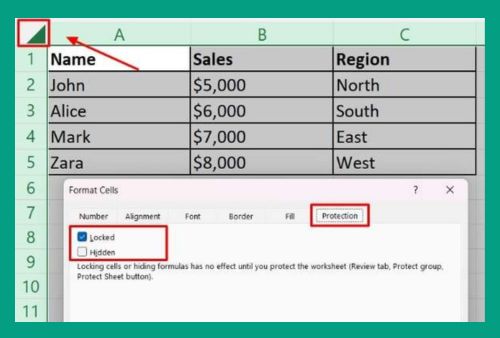
1. Check If the Worksheet Is Protected
Try to edit any cell in the worksheet. If the worksheet is protected, a warning message will appear stating, “The cell or chart you’re trying to change is on a protected sheet. To make a change, unprotect the sheet. You might be requested to enter a password.”

2. Unlock Cells Using a Macro (No Password Required)
If you don’t have the password, you can unlock the cells using Visual Basic for Applications (VBA):
Press ALT + F11 to open the VBA editor. Select “Insert” from the menu, then “Module” to open a new module.
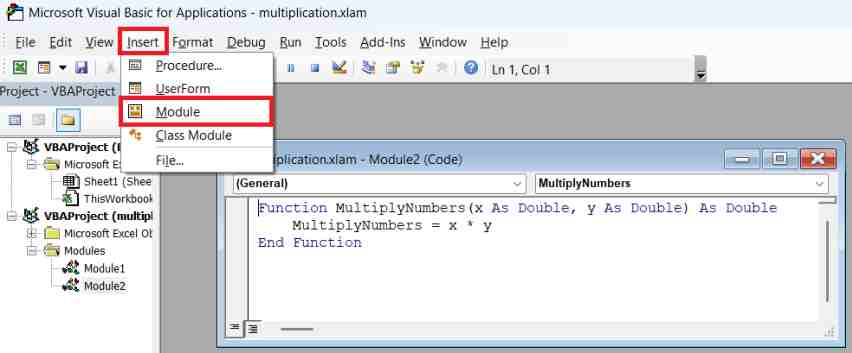
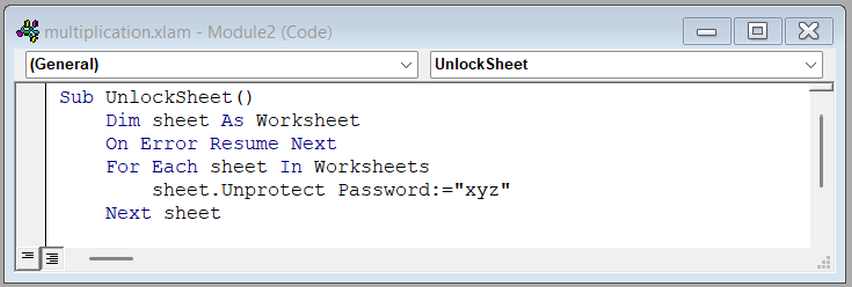
In the module, paste the following VBA code:
Sub UnlockSheet()
Dim sheet As Worksheet
On Error Resume Next
For Each sheet In Worksheets
sheet.Unprotect Password:=”xyz”
Next sheet
On Error GoTo 0
End Sub
Run the macro by pressing F5. This will attempt to unprotect all sheets in the workbook without needing a password.
3. Save Changes to Your Workbook
After running the macro, save your workbook by pressing CTRL + S to make sure all changes are preserved.
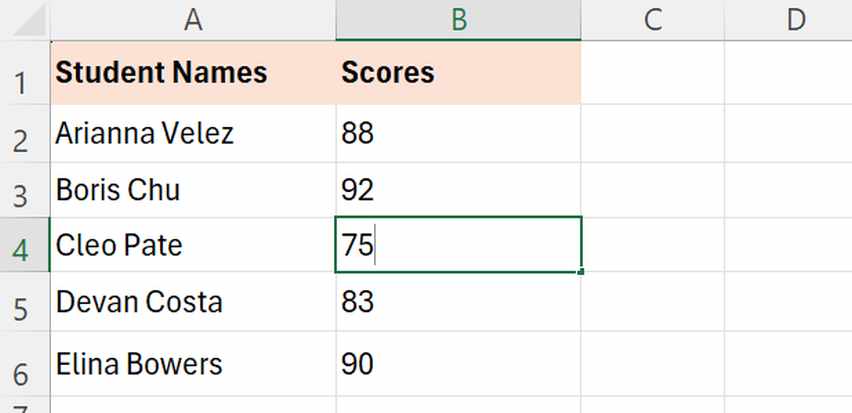
4. Verify Cells Are Unlocked
To check if the cells are now unlocked, try editing a cell that was previously locked. If you can enter data into the cell, the macro has successfully removed the protection.
Note: Only use macros to bypass protection on files that you own or for which you have been given explicit permission to edit.
Method 2: By Creating a New Workbook
If the VBA method does not work for you, try this alternative method:
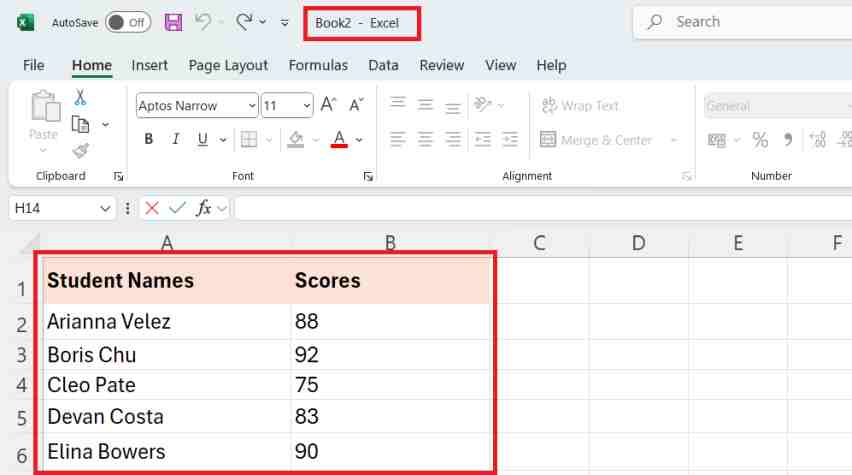
1. Create a New Workbook and Copy the Data
Open a new Excel workbook. Go back to the protected workbook, select all visible data you need, and copy it (CTRL + C).

2. Paste Data into the New Workbook
Paste the copied data into the new workbook (CTRL + V). This method won’t copy any hidden or protected content but will allow you to recover and use visible data.
3. Save the New Workbook
Save the new workbook to ensure all copied data is preserved. This gives you an unprotected version of the data that you can edit freely.
We hope that you now have a better understanding of how you can unlock a cell without a password in Excel. If you enjoyed this article, you might also like our articles on how to password protect cells in Excel and how to copy a protected Excel sheet without password.