How to Password Protect Cells in Excel (Easiest Way in 2025)
In this article, we will show you how to password-protect cells in Excel. Simply follow the steps below.

Password Protect Cells in Excel
Here’s how you can put a password to your cells in Excel:
1. Highlight the Cells You Want to Protect
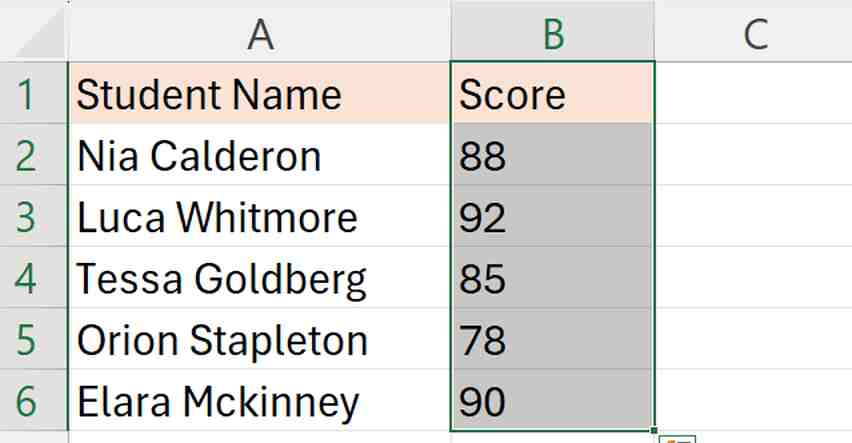
In our example, we have a dataset containing student names in Column A and scores in Column B.
Click and drag your mouse to highlight the cells you want to password-protect. For example, we will select cells B1 to B6.
2. Unlock All Cells in the Worksheet
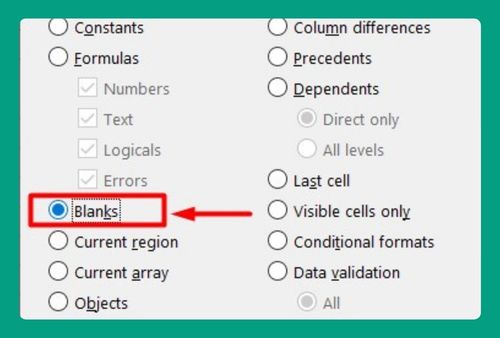
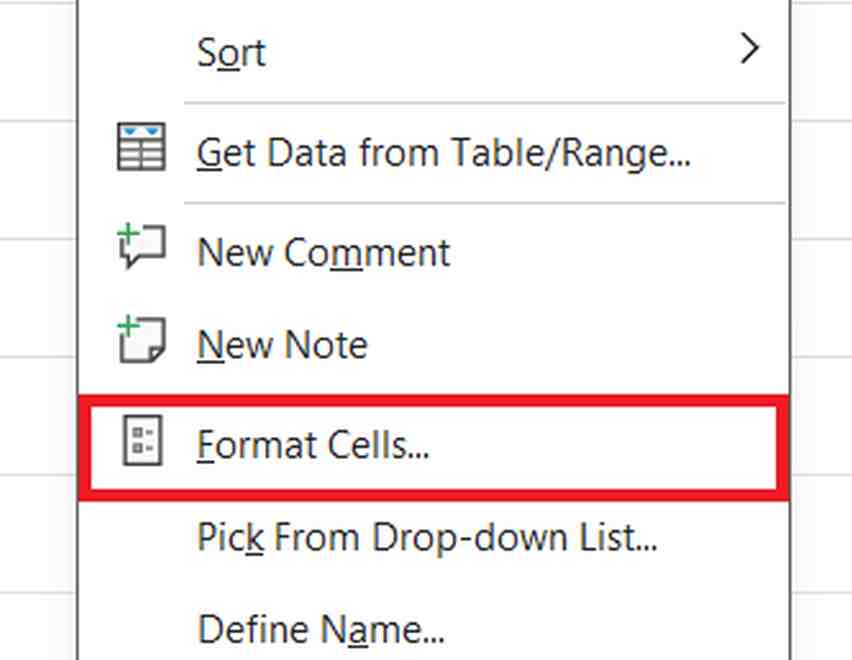
Initially, all cells in Excel are locked by default, but locking only takes effect when you protect the worksheet. First, unlock all cells to start fresh. Go to the ‘Format Cells’ dialog box by right-clicking on the selected cells and choosing ‘Format Cells.’
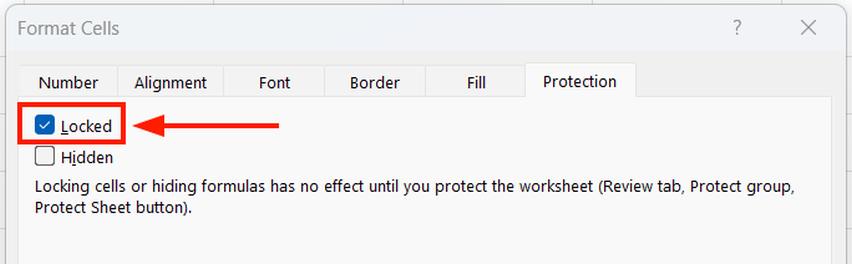
Then, click on the ‘Protection’ tab and uncheck ‘Locked’. Click ‘OK’ when done.

3. Re-lock the Specific Cells You Chose to Protect
After unlocking all cells, go back and specifically lock only the ones you want to protect. Repeat the earlier process, but this time check the ‘Locked’ box in the ‘Protection’ tab for the cells you selected earlier.
4. Activate Worksheet Protection with a Password
Now that the specific cells are locked, protect the worksheet to activate the locking. Go to the ‘Review’ tab on the menu bar, and click ‘Protect Sheet.’

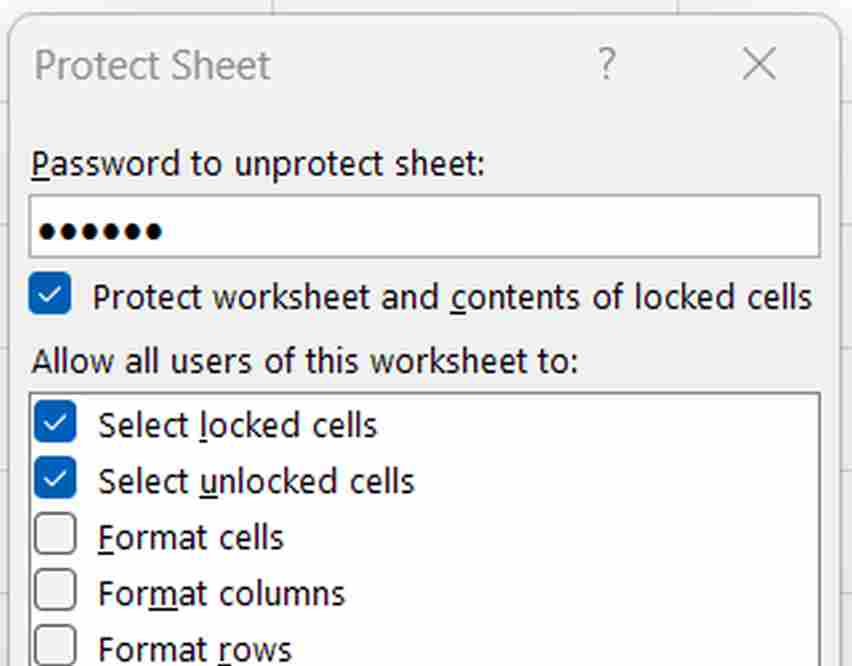
Here you can set a password. Enter a password that will be required to make any changes to the locked cells.
Then, ensure that the boxes of “Protect worksheet and contents of locked cells,” “Select locked cells,” and “Select unlocked cells” are checked.
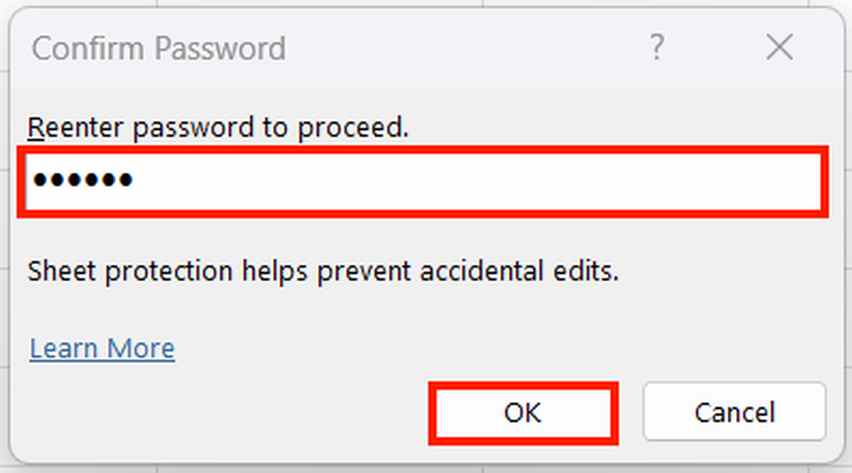
5. Verify and Confirm Your Password
After entering your password, a dialog box will prompt you to confirm it. Re-enter your password to confirm and finalize the protection settings. Then, click ‘OK.’
6. Test the Locked Cells to Confirm Protection
Try editing the locked cells to ensure the protection works. If you attempt to edit or change the locked cells, Excel will display a message saying, “The cell or chart you’re trying to change is on a protected sheet. To make a change, unprotect the sheet. You might be requested to enter a password.” This confirms that your protection is active.

We hope that you now have a better understanding of how to put a password to cells in Excel. If you enjoyed this article, you might also like our articles on how to find exact match in Excel and how to unlock cells in Excel without password.